OUR GREAT FRIEND SURI
As promised, we will see how to perform a basic configuration with Suricata, then you can further investigate all its possibilities. Keep in mind that before you can do this you must have followed the post Implementing Pfesense with Suricata.
First of all go to Services/Suricata/Global Settings, in this section the first thing we find are the rules, we will use the Free rules, whoever wants can use the Pro, for this we need to create an account on snort.org with free subscription and go to the downloads menu to see the latest version in this case snortrules-snapshot-29151.tar.gz (Important not to put version 3 is not compatible) we also need an Oinkode that you can find in your profile snort.org after subscribing.

Now how often we want it to update and Geolite2 where we will create a free account.
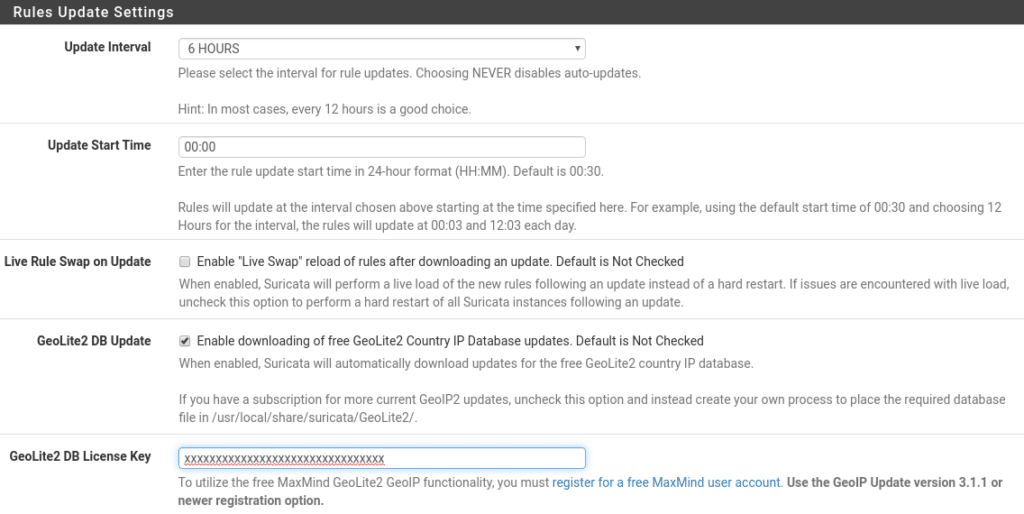
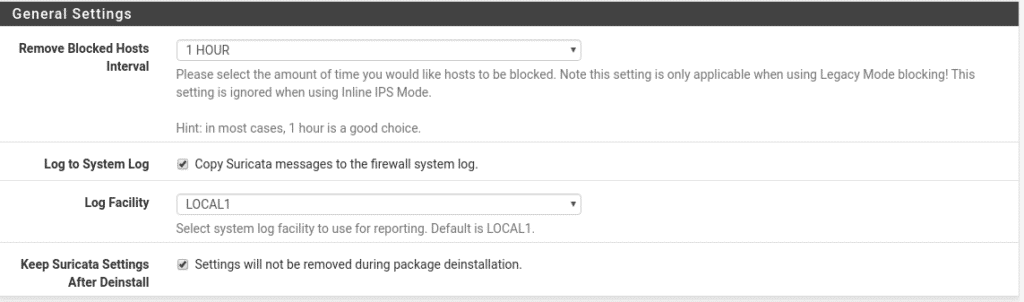
And finally in this section we have the time interval to delete the list of blocked ips, where we copy the logs and if we preserve the settings in case of uninstalling the package.
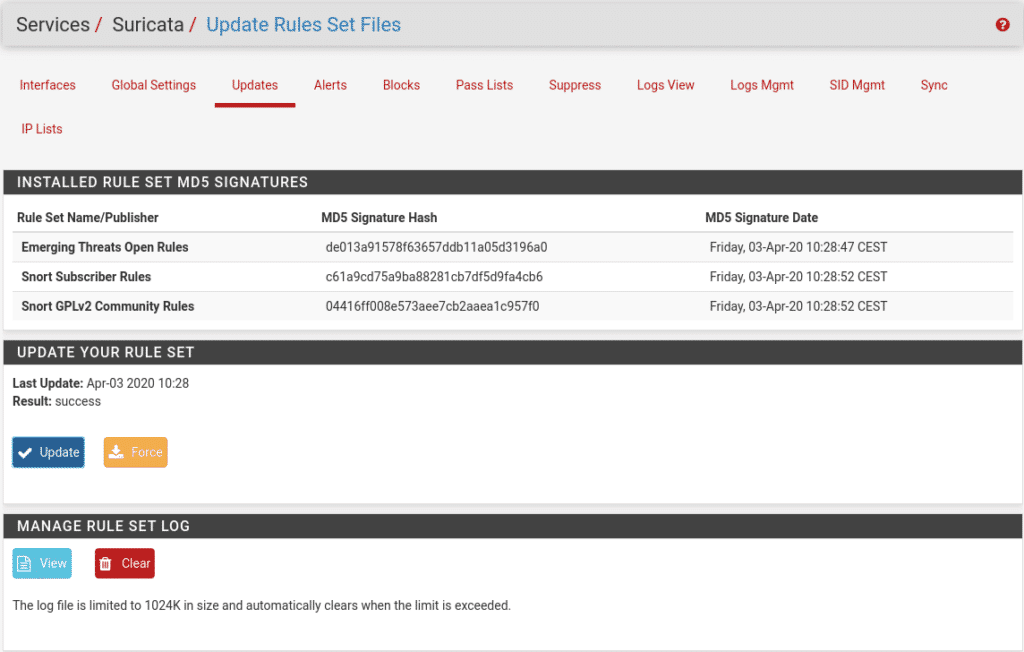
We save and go to Services/Suricata/Updates and click on updates to see if everything is correct and it looks like this.
In Alerts it will show us the alerts that are generated and why.
In Blocks we will see the blocked ips.
Pass Lists and Supress will be explained later.
The part of Logs Mgmt take a look at it and that each one configures it to your liking.
In SID mgmt we will leave it disabled since we are going to use snort rules.
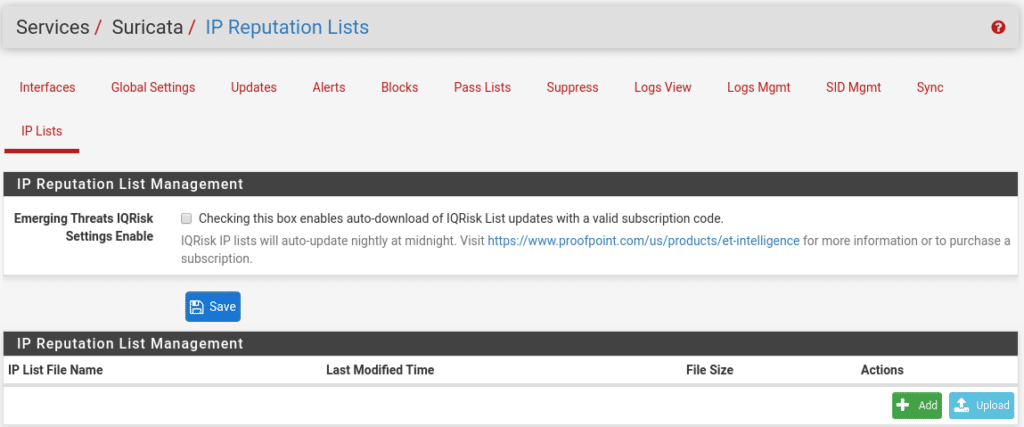
In IP Lists we can use the IQRisk lists under subscription or create/upload our own, we will not use this section because in another post we will show you another way with very good and free lists.
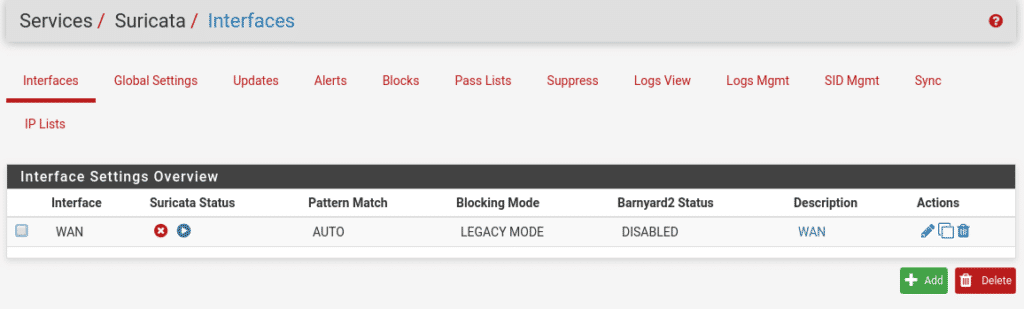
Now we have the basics, let’s move on to the interfaces we want to protect by going to Services/Suricata/Interfaces
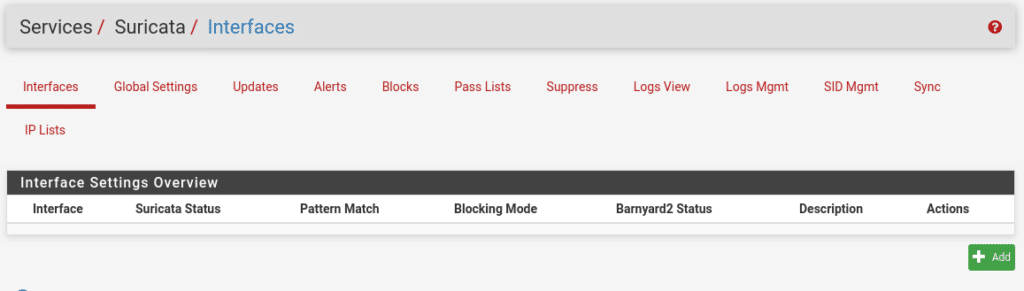
Once we are in this section we click on Add, where we will find many options. In the Wan Settings part is where we will select our Wan interface where we want to activate the service, if we have more Wan we will have to activate the service for each Wan.
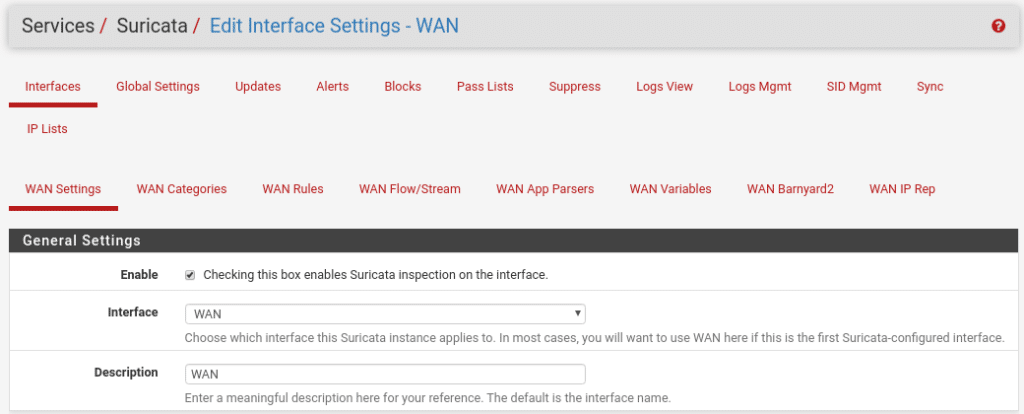
By the way I forgot that you can change the interface language in System/General Setup. In the logs part we select Send Alerts to System Log to send the logs to our firewall and what level.
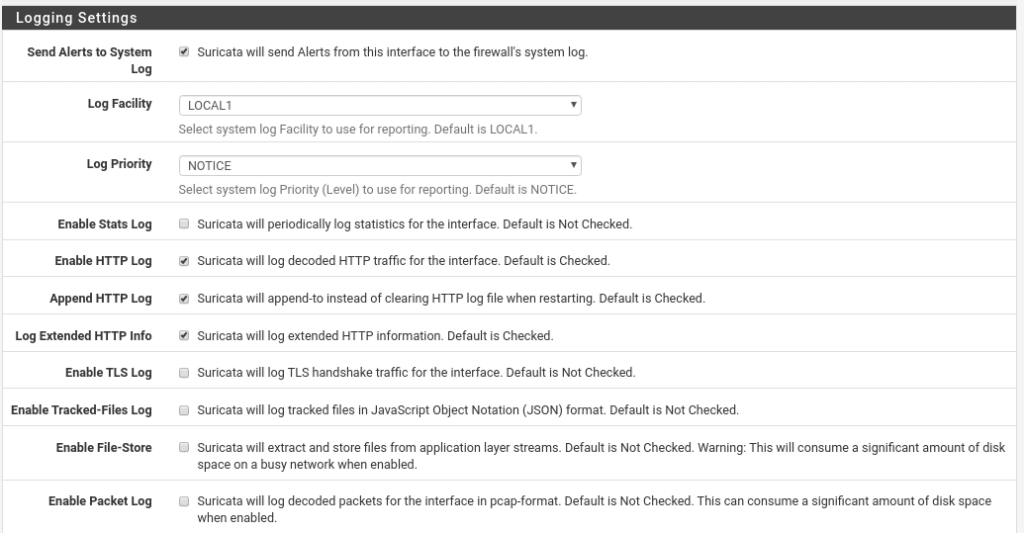
A very interesting option for the logs if you have ELK (Elasticsearch Logstash and Kibana) is the EVE Output Settings option saving them in json, here I am not going to get involved now because we would never finish but if you need help write us and we will be happy to explain it to you.

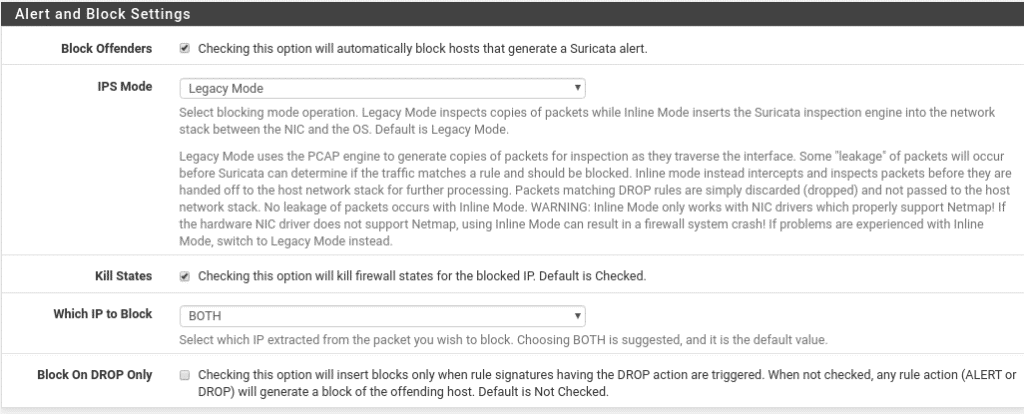
The following option is very important, without it the only thing we would do is to generate logs nothing more and what we are looking for is to block therefore we enable the option to block all the hosts that generate a Suricata alert.
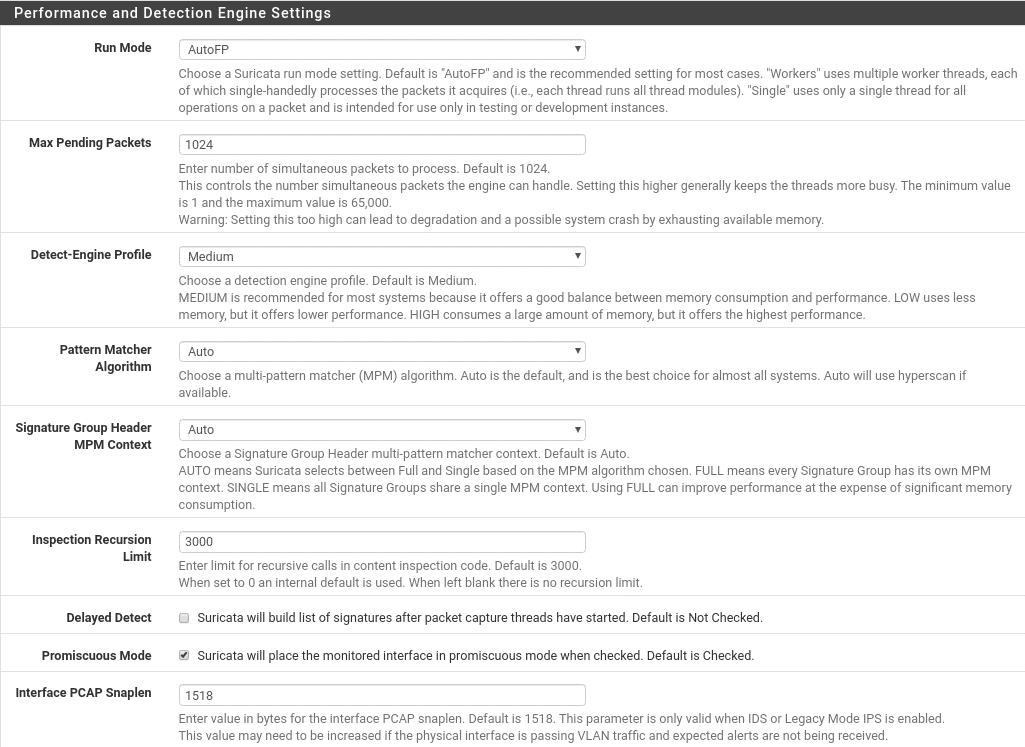
We continue with the performance, where the default options work very well for most cases, in virtualized environments if you notice low performance first look before drivers, tools, … before modifying anything in this section, for example in Proxmox you have to select the E1000 driver as the VirtIO goes very badly for FreeBSD and even cuts the traffic.
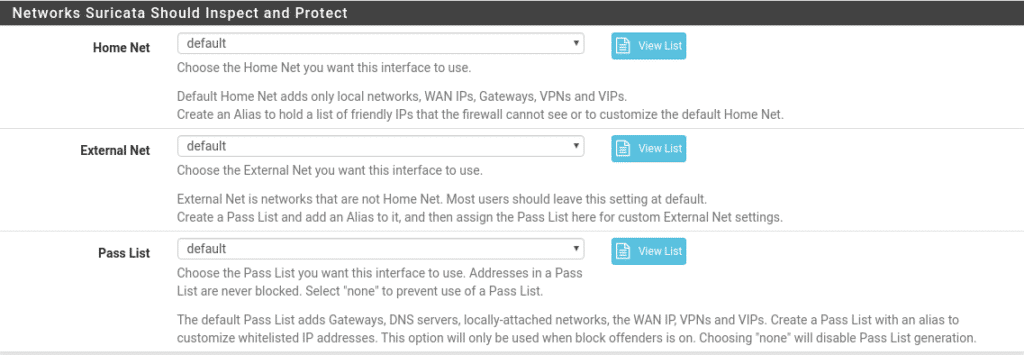
In the next section we will see which networks we want to protect, the default option will be valid for almost all users, but if you have networks that the firewall cannot see you can create a Pass List in Services/Suricata/Pass Lists with those networks and select the list in each section depending on the type of network, as for example in this lab we should put our local network since it is the leg where the wan of this machine with pfsense hangs.
In the Pass Lists section we will do the same, we will go to Services/Suricata/Pass Lists and create another list with all the IPS that should not be blocked, this is highly recommended so that there is no false positive and you cut the communication of something important, for example, if you use Cloudflare the Cloudflare ips should be added to that list.
Finally we would create a Suppress list in Service/Suricata/Suppress where instead of putting ips we would add filters so that they are not executed, as for example a rule of Suricata that does not apply to the ip x.x.x.x.x This you will see it yourselves explaining it in detail is a world, but you already know contact us or put a comment and we will give you a cable.

And finally Arguments here will be automatically inserted into the Suricata configuration, in case we want to modify the configuration of Suricata adding the parameters line by line, this we leave the link to the documentation of Suricata because it has a lot of crumb hehe Documentation.

Save and this is the first part.
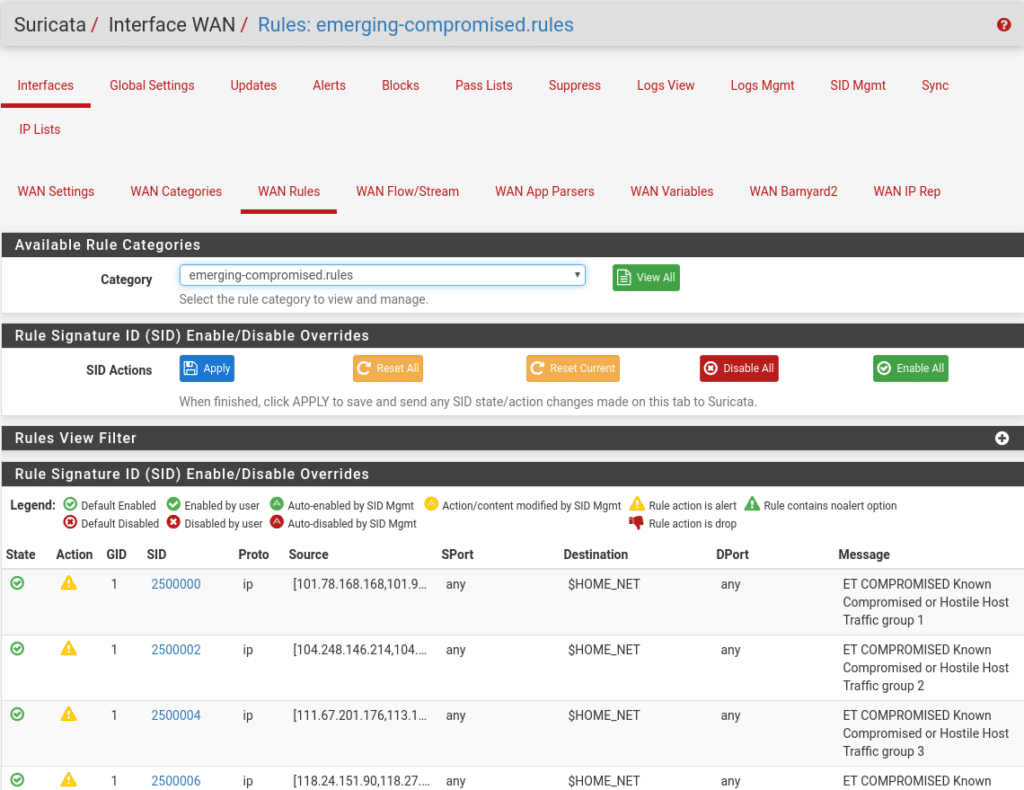
Let’s move on to Wan Categories where we can select which categories we want to activate from all the ones we have previously downloaded from snort as long as we do NOT activate the Use IPS Policy option as it would be automatic depending on the snort package. We select all of them to start with in Select All and save, then everyone can refine them, although it is best to refine them using the Suppress List or in the next section that we will see.
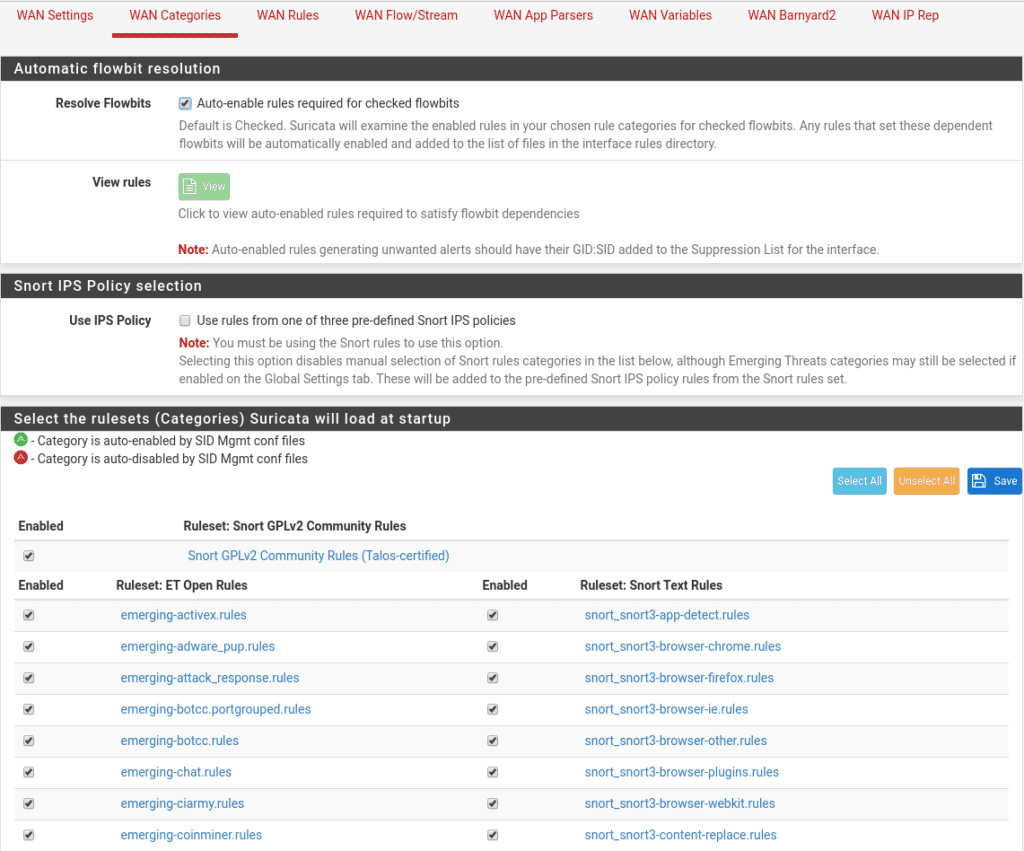
Within each category there are rules that we can see in Wan Rules if we have activated them in the previous step, here is a part where we refine if we have rules that for some reason give us a lot of headaches but are not vital disabling or using their SID to create rules in the Suppress list. Comment that by default not all of them are activated, you can dedicate a good time to see which ones there are and what they do.
The rest of the options consult the documentation because it also has a lot of importance except Wan Barnyard that is a simple interpreter that will place the alerts in a Mysql database to be able to carry out studies, this spends resources and for the moment we are not interested and Wan IP Rep that we will not use, we will use another package pfBlockerNG and that we will tell you in the next post.
Once everything is done and saved we only have to activate Suricata in the interface Services/Suricata/Interfaces and click on the play symbol.
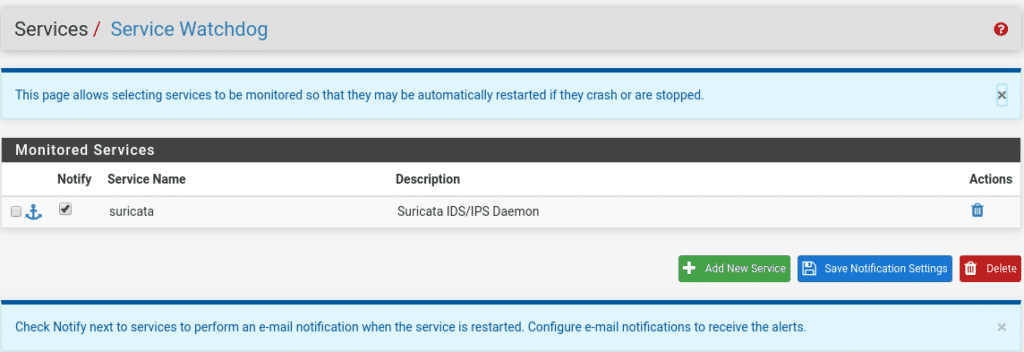
An important issue is that as any service can suffer a shutdown for different reasons, to prevent it from stopping and not restarting we can install the watchdog package
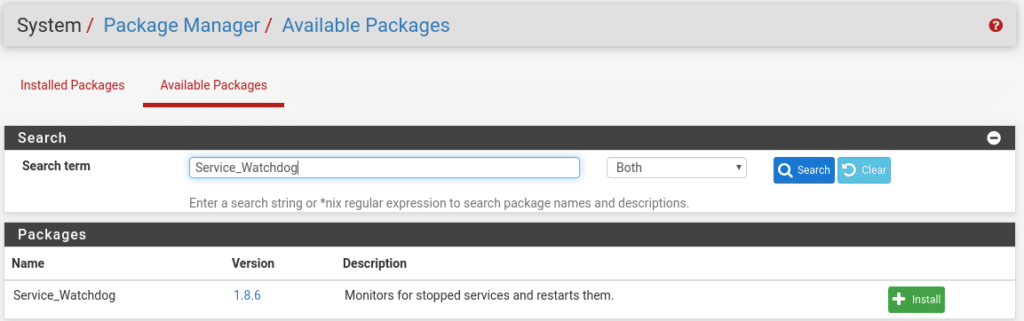
Once installed in Services we will have the option Service Watchdog
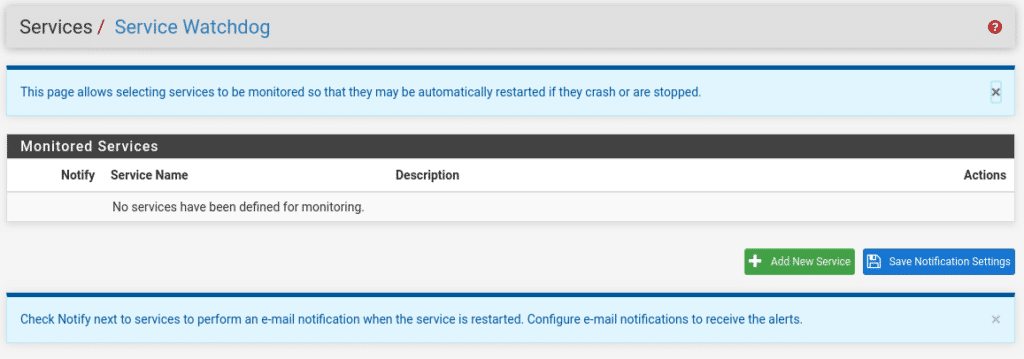
Add new service and select Suricata IDS

If we want to be informed that it has stopped and restarted, once the service has been added we check the Notify box.
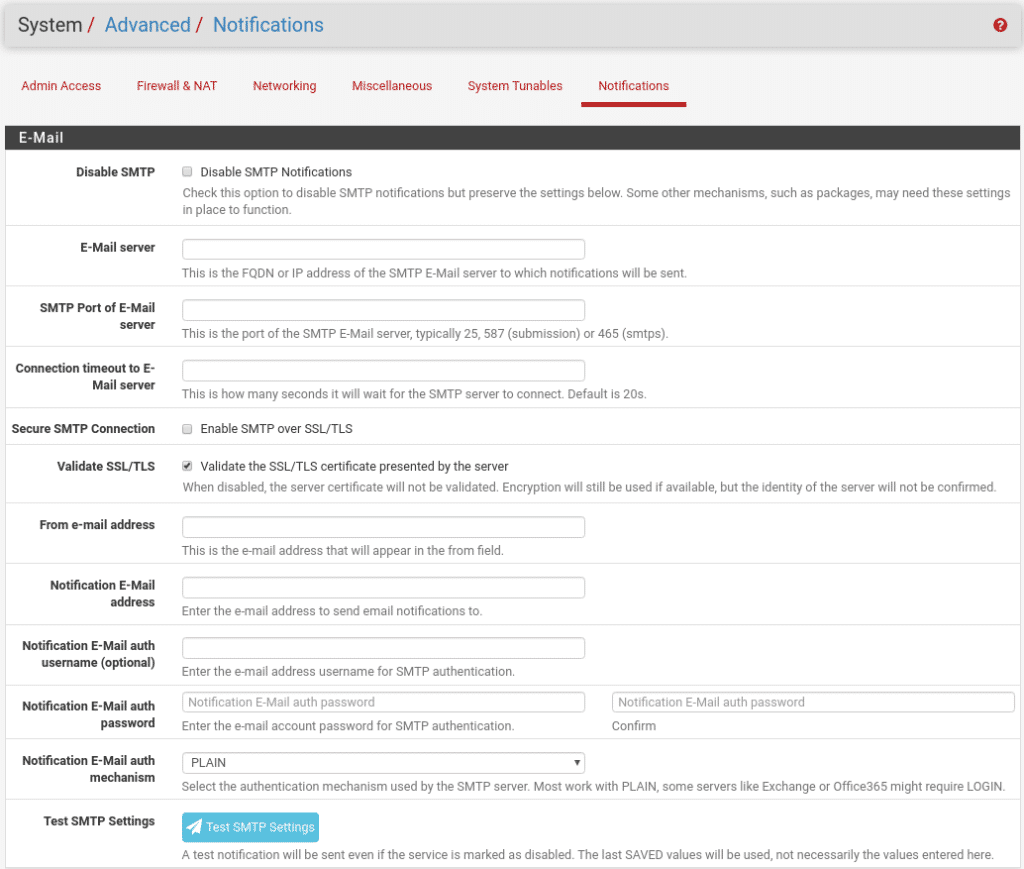
The last step to receive these notifications would be to go to System/Advanced/Notifications and configure our email service and where we want to send the emails. This step will depend on whether we use smtp relay or use an authenticated account, it is easy to fill in and the descriptions of the fields are very well explained.
I hope you liked it, you can complete the security of your opensource firewall with the next post Topping it off with pfBlockerNG
TL.