FIRST THINGS FIRST
Not all of us can have high-end firewalls such as a Palo Alto because they are not affordable for all budgets.
Therefore I will explain how to set up an opensource firewall with IDS/IPS based on Pfsense and Suricata, both wonderful projects.
For example, we can have a virtualized dedicated server with Proxmox in OVH with its powerful vrack to interconnect services on different servers or products offered by OVH being all protected by the firewall with IDS/IPS that we are going to mount, allowing us to have vlans, multiwan, …..
Depending on your environment and services we want to use we will need some resources or others, the minimum necessary is 1 CPU 500 Mhz, 1GB RAM and 4GB HD. As we are going to use Suricata I recommend 2 CPUs, 4GB RAM and 16GB HD to have high log storage and of course, 2 network cards minimum, one for WAN and one for LAN, but as I say this will depend on what you want to do, for example we have all kinds with 3 WAN and a LAN, 3 WAN and 4 LAN, …
To start we download the ISO from their website for free.
Now everyone will install it in their environment with the appropriate procedure according to their environment, but for KVM environments do not use the Virtio drivers, select E1000 cards in the creation of the VM because the performance of FreeBSD with Virtio is especially poor, there is a solution provided by Netgate which is to Disable hardware checksum offload in System > Advanced on the Networking and reboot, but from experience depending on the load traffic will be cut in a few hours and you will have no choice but to restart the firewall. Common to any environment will be the following.
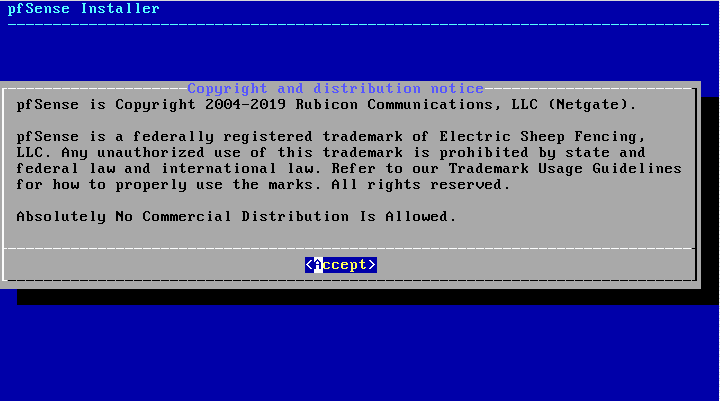
1.Accept the Copyright
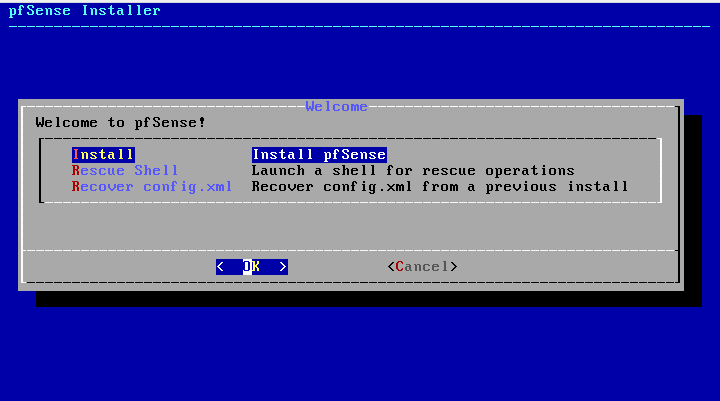
2. Select install
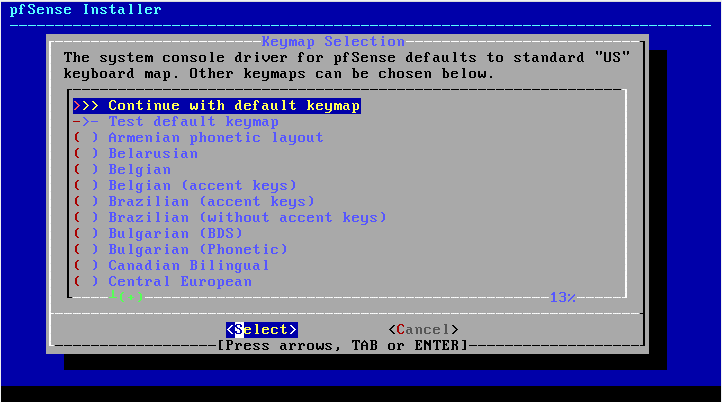
3. Select language and keyboard, click continue
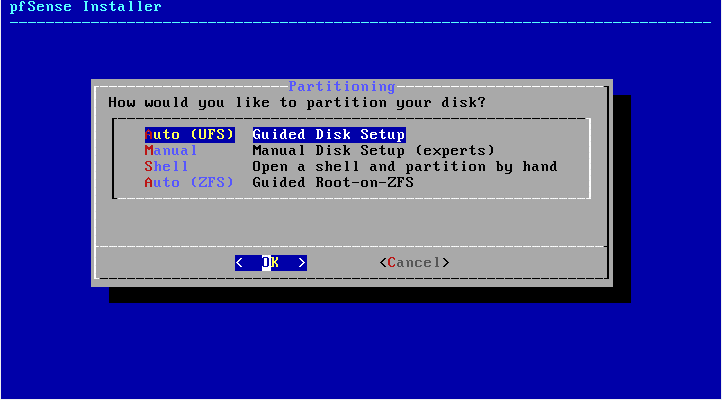
4. In the next step, as we are going to use the entire disk, we do not complicate things and we set Auto(UFS).
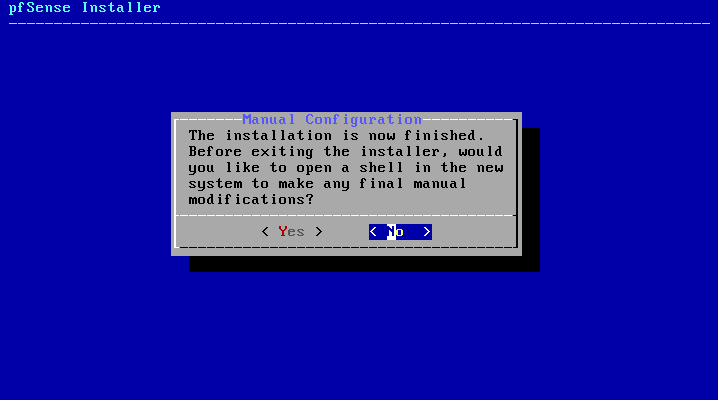
5. The installation will start, which is very fast, and we will see the following where we will select No.
6. And finally Reboot

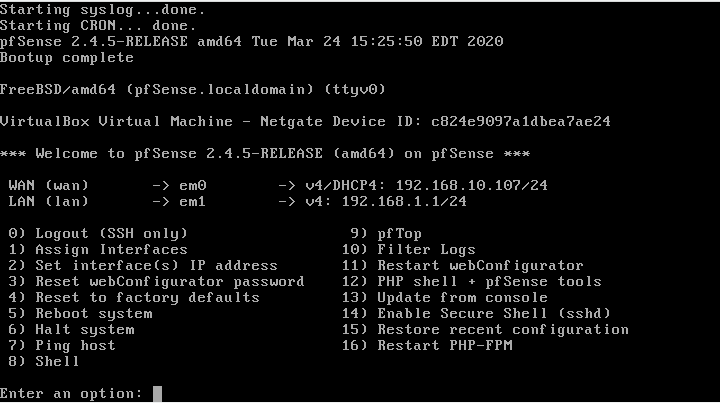
And ready, as you can see installing is very simple and fast, once restarted we will have the following screen with the available options per shell.
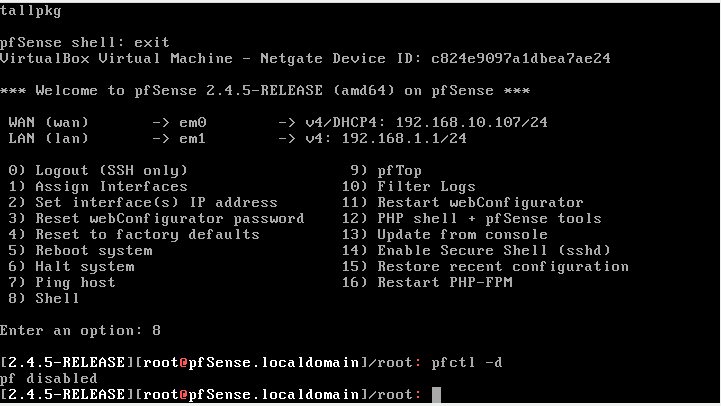
Now as we are with a virtual machine in virtualbox where the Wan is the Lan of our local network and by default can only be accessed by the Lan of pfsense itself which is a different Lan, we will disable the pfsense firewall by console to access the wan, do not do this in production environments unless by mistake you have lost access and need to recover it. to do this select option 8 and write pfctl -d as in the following image.
We can now access through the browser to the Wan ip with user admin and password pfsense
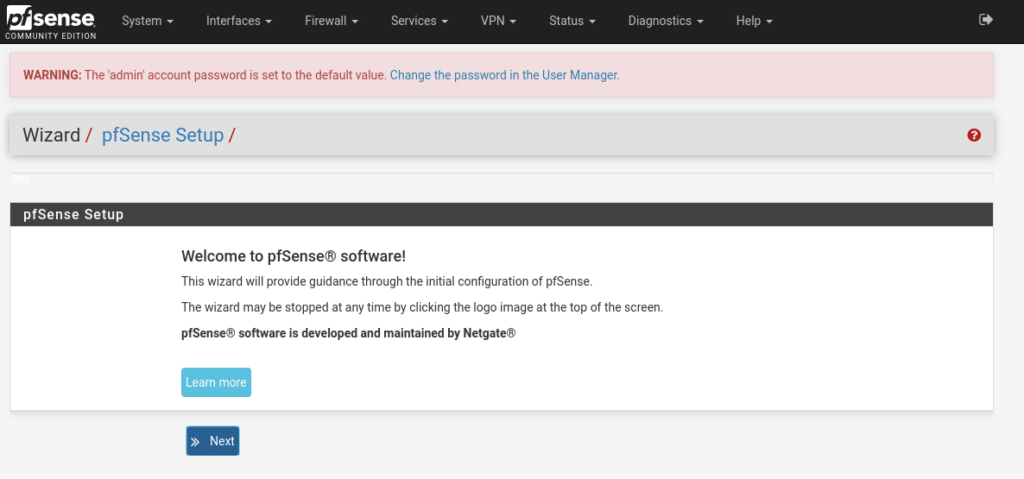
And follow the Wizard by clicking Next.
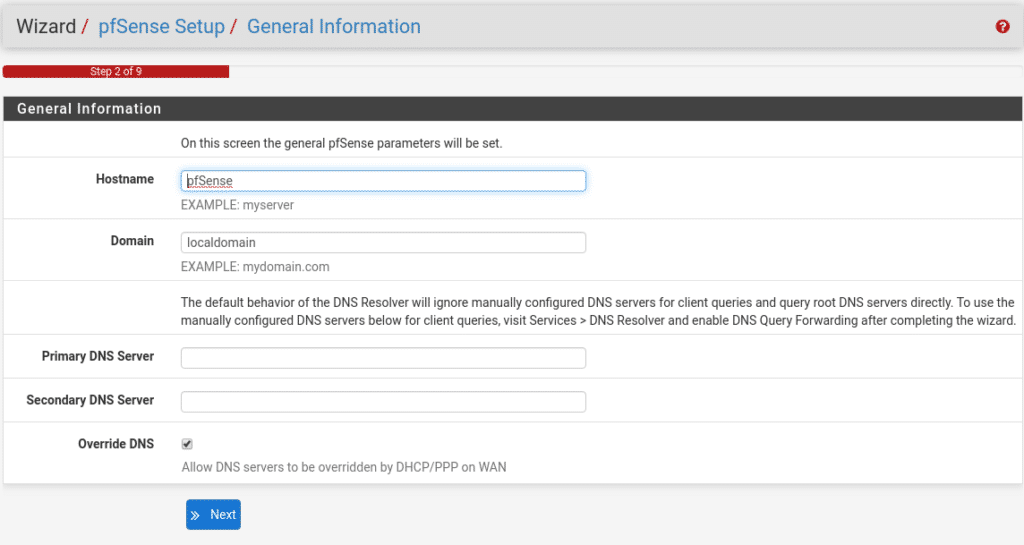
First screen general information
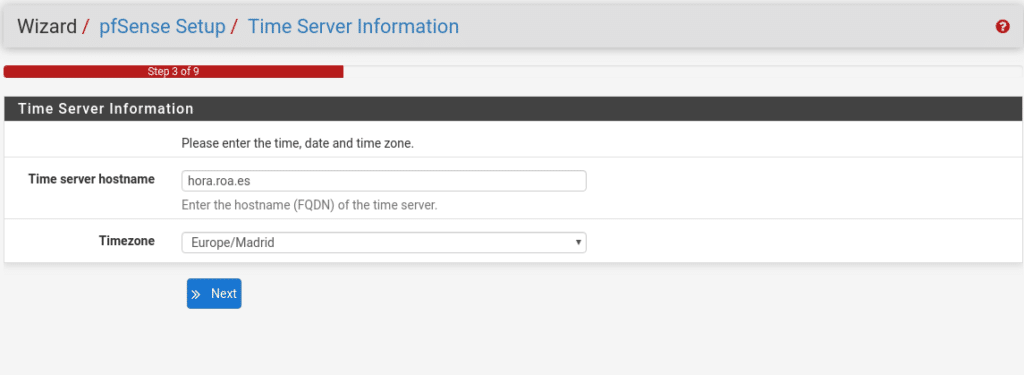
Time server information
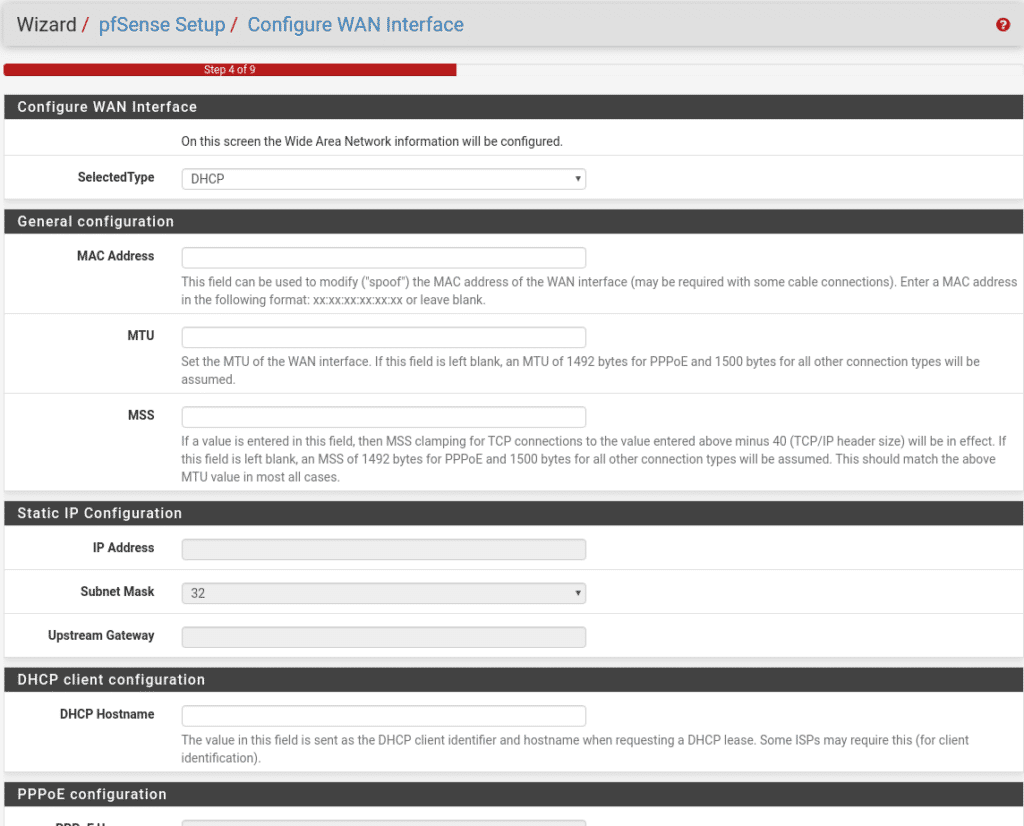
Configuration of the Wan as desired, we will leave it in DHCP since it is a laboratory.
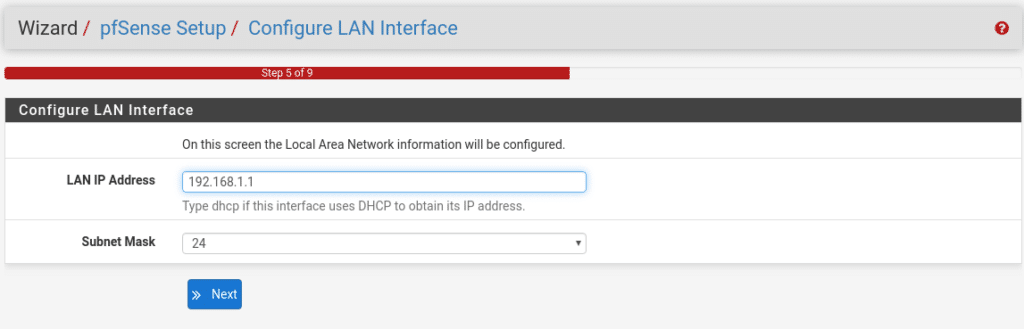
Here is the Lan as expected hehe
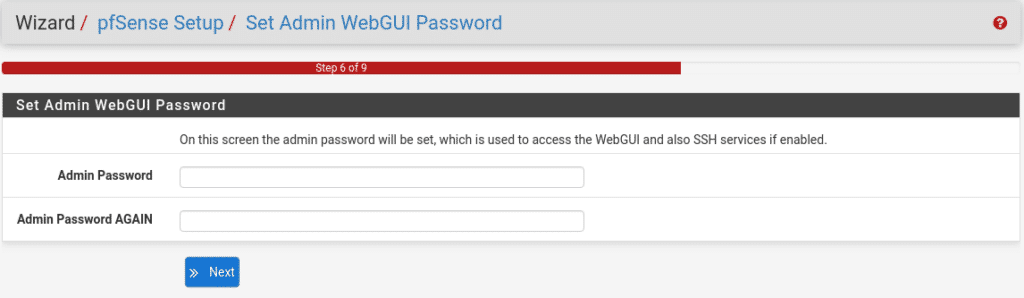
We have less now the admin password
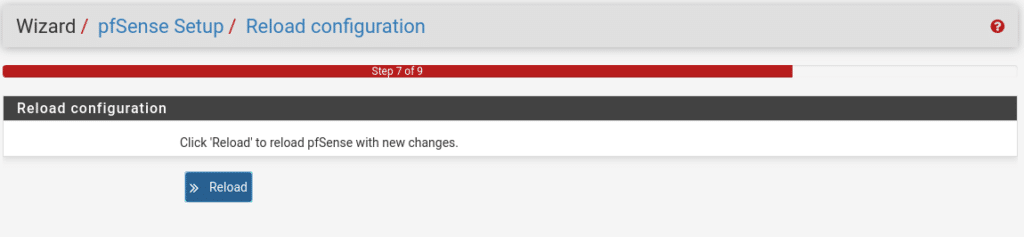
Recargamos la configuración
And we run again in console the pfctl -d because the firewall will be activated again.
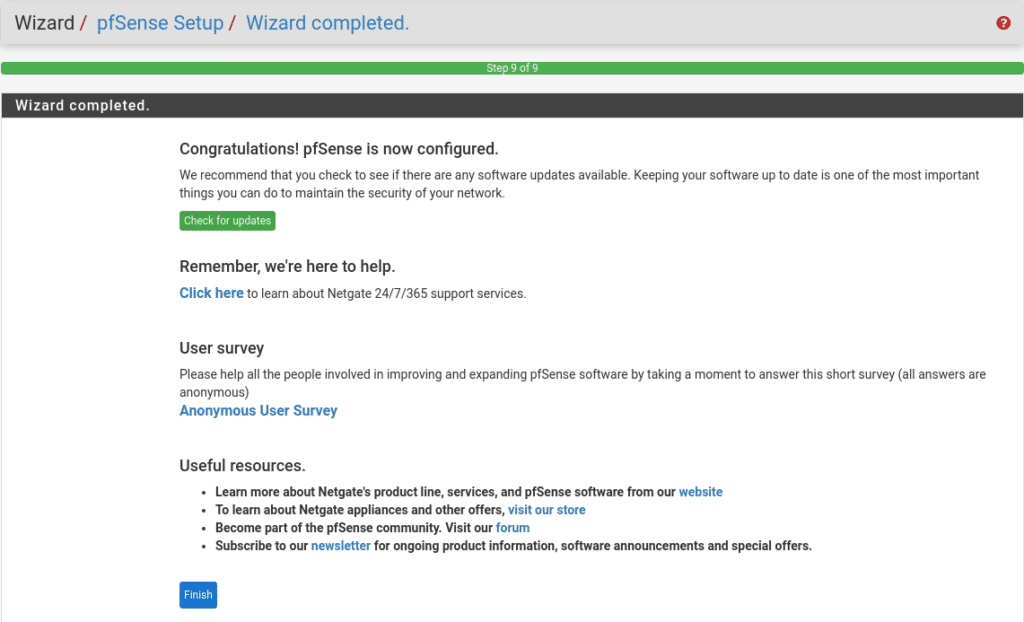
We already have the base done
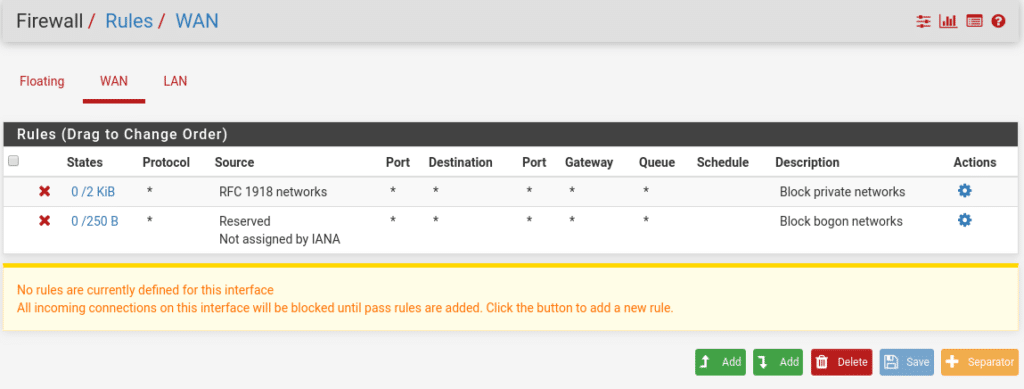
For this lab, the first thing we are going to do is to create a rule to allow access through the wan by going to the firewall/rules/wan section.
We will add the rule above or below where we are located by selecting Add Above or Add Below, and the following configuration will appear.
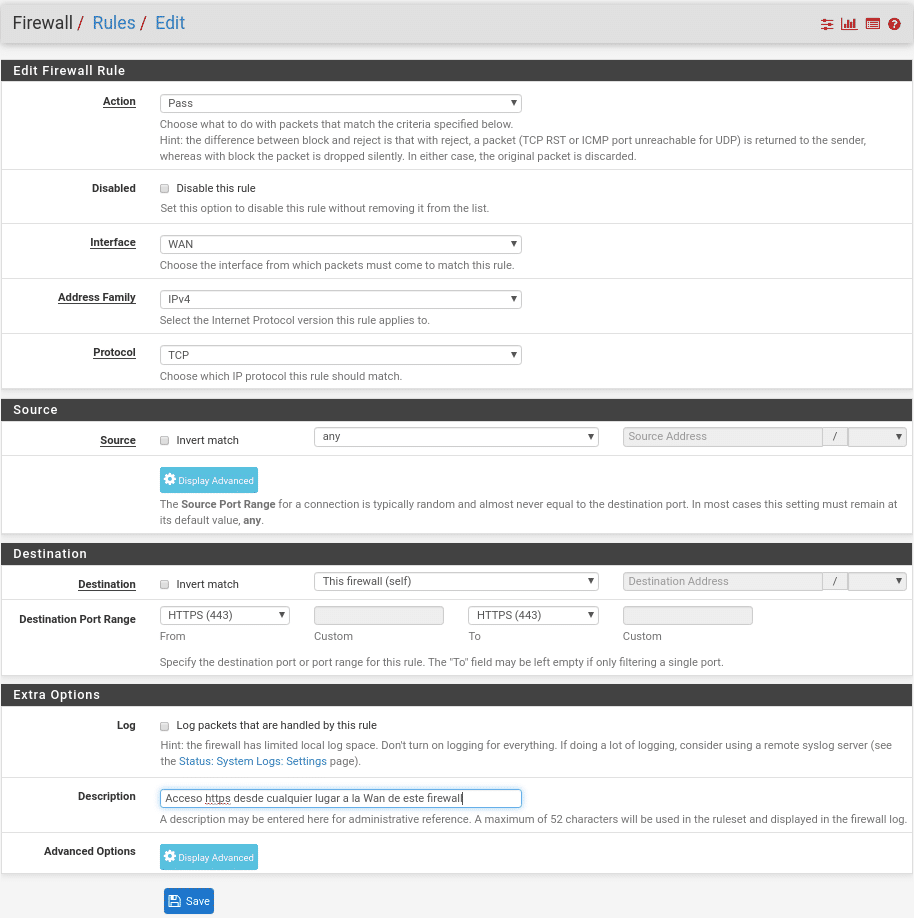
In this case as the description says we are giving https Access from any IP to the Wan of this firewall.
We can also use separators to make the management much easier, it is simply a separation with the description that we want for example Firewall Access
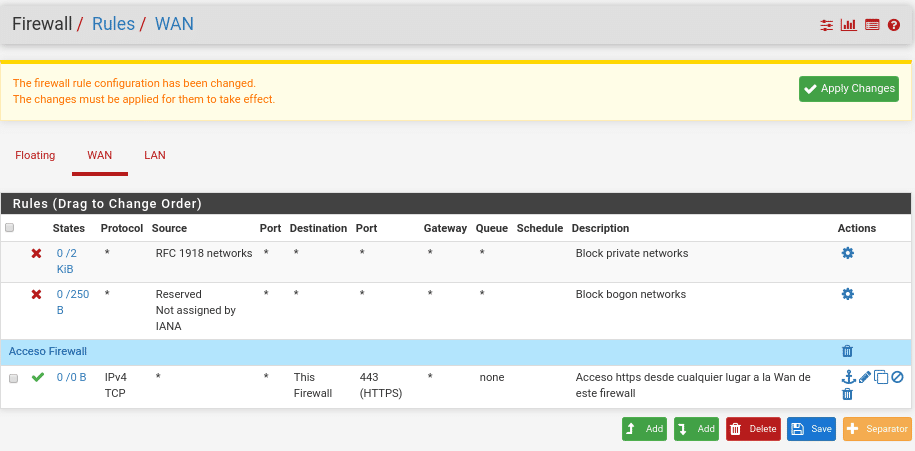
We save and apply, having again to launch from console pfctl -d since by default in the Wan is denied the private networks and they are placed in first position as shown in the previous image without being able to be moved, therefore we will have to deactivate this option in Interfaces/WAN at the bottom, leaving both boxes unchecked.

Now if we have it ready to access by the wan without needing to deactivate the firewall every time that we apply some configuration, if it did not work and it blocked the access again, restart the machine with the option 5 of the console.
WARNING!!! We repeat this is a laboratory do not do this in Production, use VPN to access or allow only fixed ips if you have from where you connect remotely.
AND NOW?
We are going to install Suricata where its engine is capable of real-time intrusion detection (IDS), online intrusion prevention (IPS), network security monitoring (NSM) and offline pcap processing.
Go to System/Package Manager/Available Packages and enter suricata in the search engine.

Install and confirm on the next screen, this process may take a little while depending on the hardware as there are quite a few files.
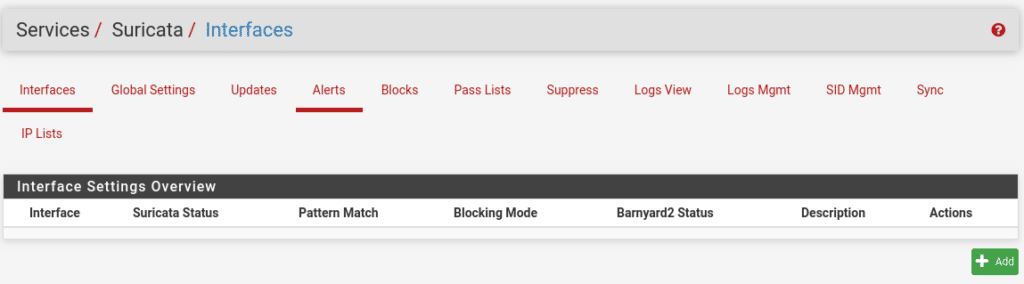
Once installed in the services tab you will see Suricata
We will leave the configuration for another post since it gives for a post and much more its configuration, is a real opensource pass, you will check it in the following post (Already done in Configuring Suricata in Pfsense)
TL.