Alien Vault OSSIM
Today I will talk about a great Open Source Information Management System born in Spain, being its creators Alien Vault, a company that was acquired by AT&T forming the AT&T Cybersecurity branch. If a big company acquired it for a reason, let’s see why.
Alien Vault is a benchmark that was born in 2007 with its best known product Open Threat Exchange (OTX), a totally free security threat response platform, which to this day remains so with thousands of participants from different countries. They also offer OSSIM, to which we dedicate this post.
The OSSIM architecture consists of 3 layers:
- The lower or processing part, which is composed of the detectors in charge of detection and alert generation, consisting of IDS, IPS, anomaly detectors and several others.
- Intermediate or preprocessing, where OSSIM converts all those thousands of incomprehensible events into understandable alarms. There would be the correlation engine, normalization, prioritization and risk assessments according to the directives we have created.
- The top or front layer, i.e., the management tool.
OSSIM seamlessly integrates many spectacular tools, among which we can find:
- Arpwatch, a daemon which keeps track of MACs and allows us to detect ARP Spoofing attacks.
- Suricata is a free and open source intrusion detection and prevention system (IDS/IPS), compatible with Snort also built-in. If you remember we talked about Suricata in our posts about implementing Pfsense with suricata and configuring Suricata in Pfsense.
- Nagios, a widely known open source monitoring system.
- Osiris, a HIDS, i.e. a host-based intrusion detection system.
- OpenVas, great vulnerability scanner.
- And many more to detect anomalies in services, packets, traffic capture, network information, …..
Having this in mind, where do we start. The first thing to do is to download the latest ISO at:
https://cybersecurity.att.com/products/ossim
After downloading the ISO we create a virtual machine, in this case we will use VirtualBox for this lab, disabling audio, usb, floppy and as observation in VirtualBox the main card must be in NAT mode, otherwise the installation will be frozen, after installation and you can configure the cards to taste.
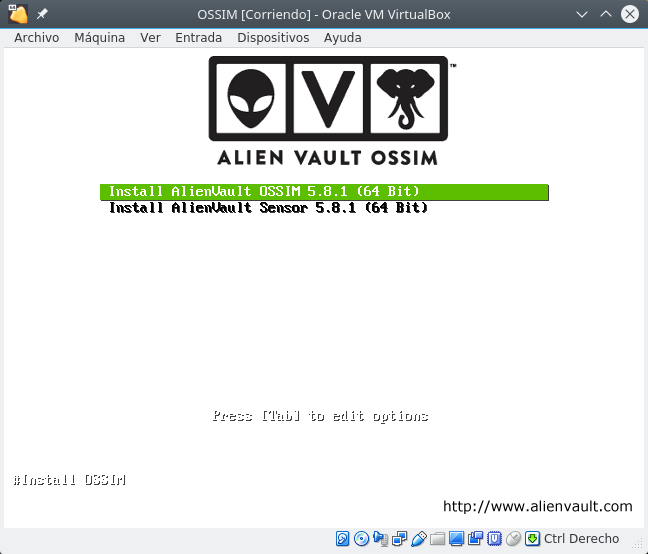
After starting the ISO the first thing we find, is two options to install OSSIM or a sensor (used for example in remote offices to collect information to be sent to the OSSIM server).
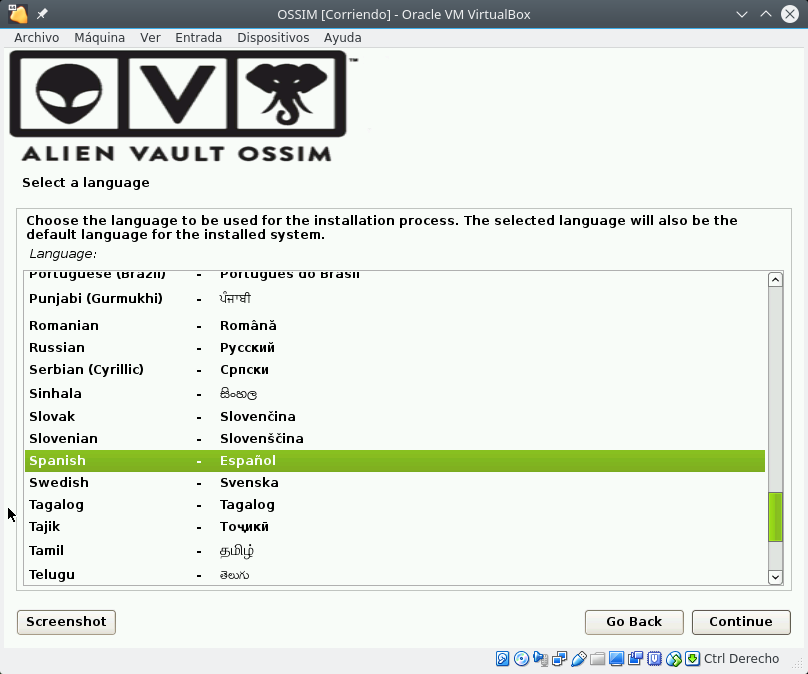
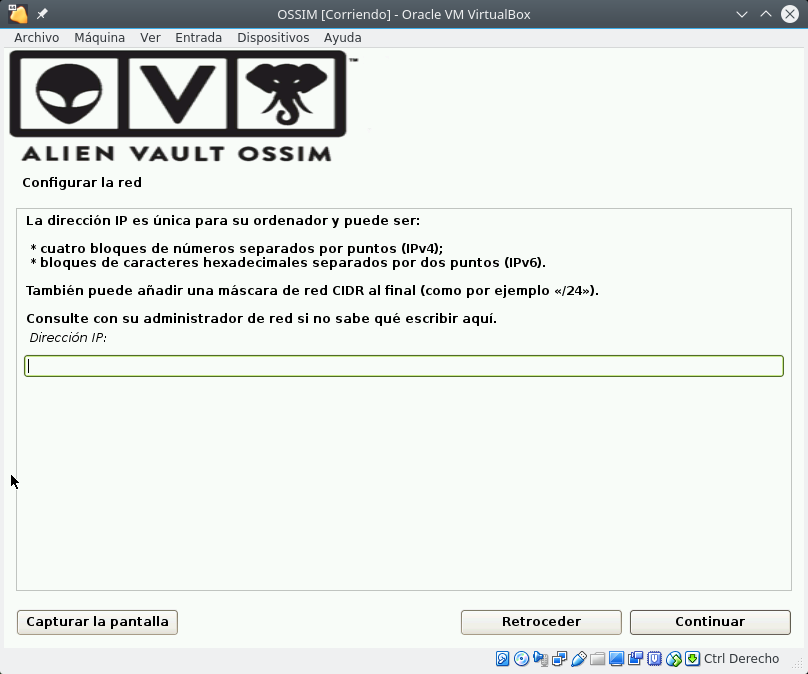
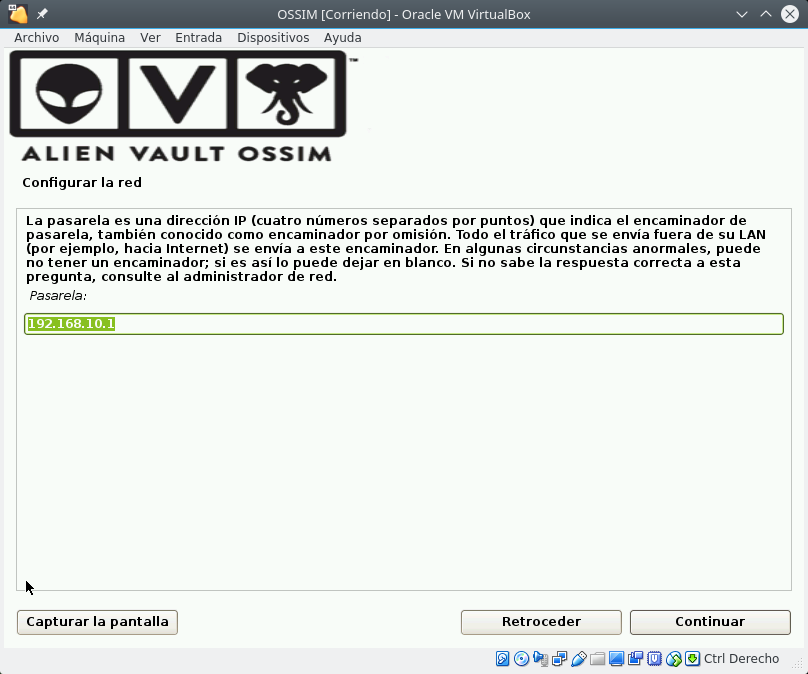
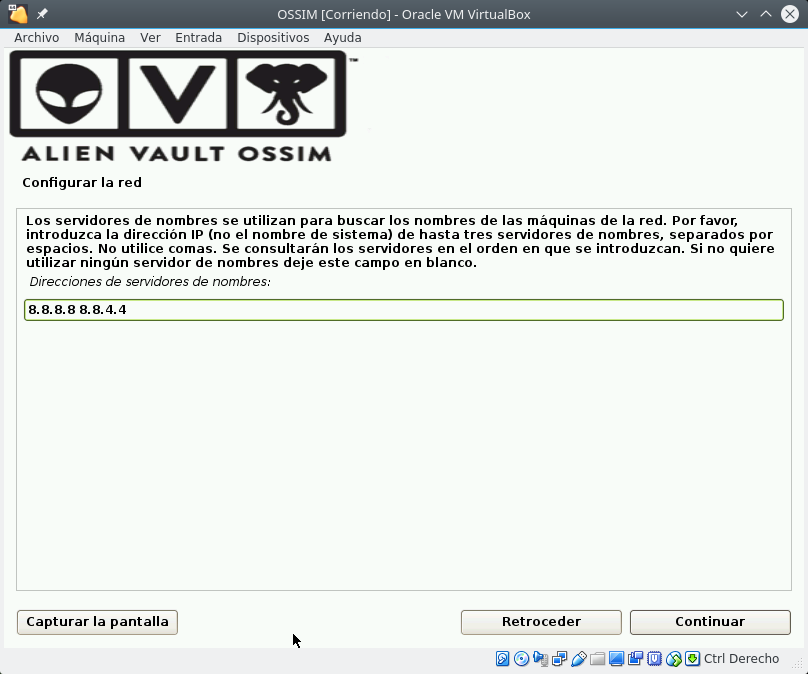
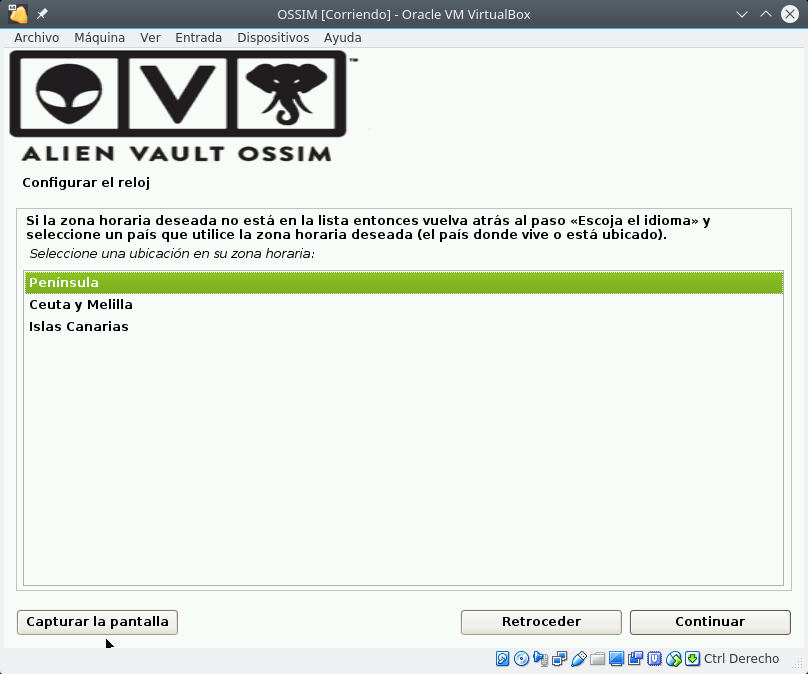
Select install and there are 4 steps: select Language and Keyboard, specify the IP address, Netmask, GW and DNS, set superuser password, time and it starts to install until it restarts.

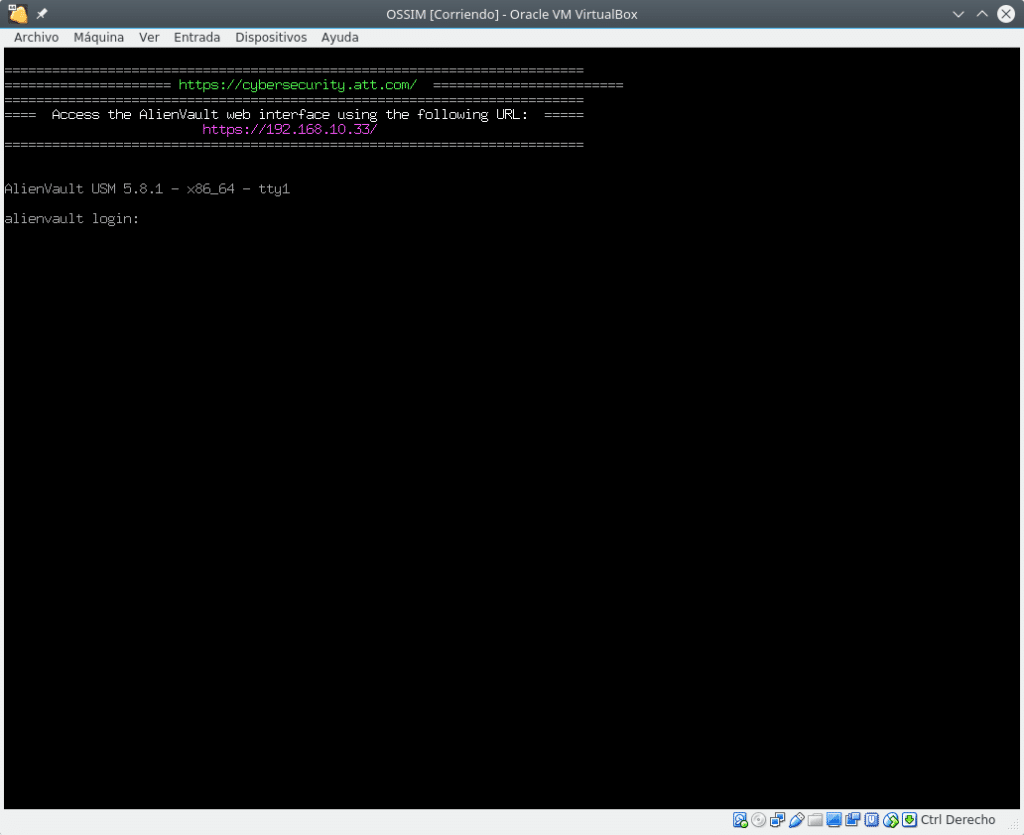
Once installed, enter the web address you have assigned and you will find the first screen where you can create the administration user.
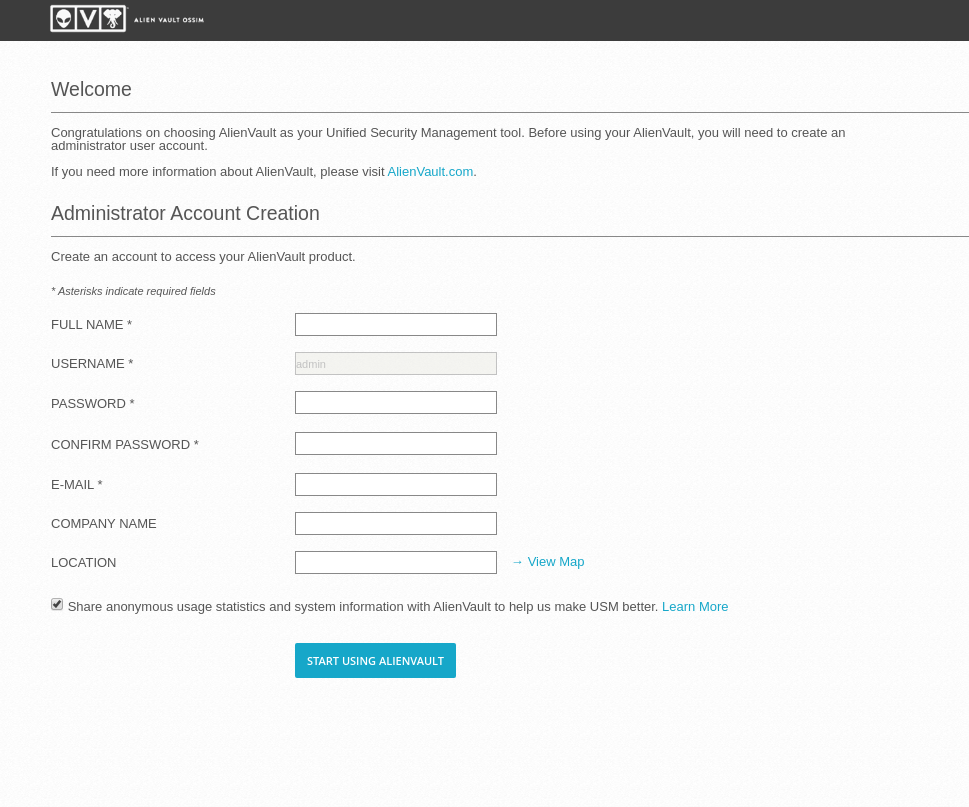
Fill in the data and you will be redirected to login.

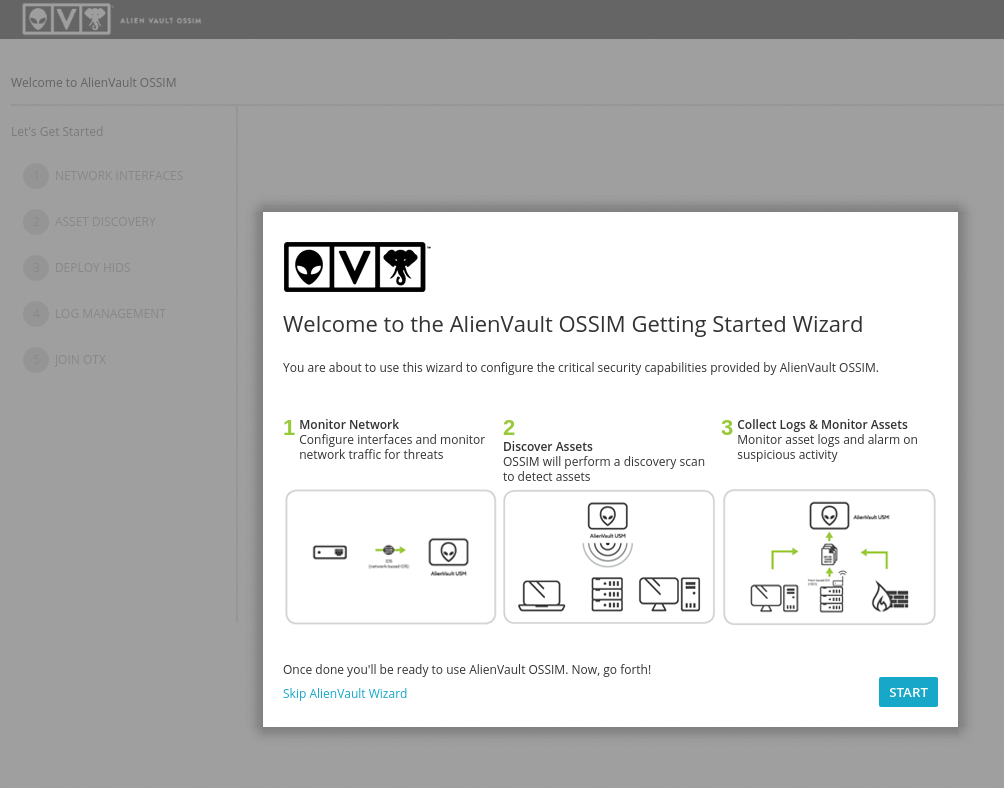
Enter user and pass and you will be asked if you want to perform the 3-step Wizard or skip it.
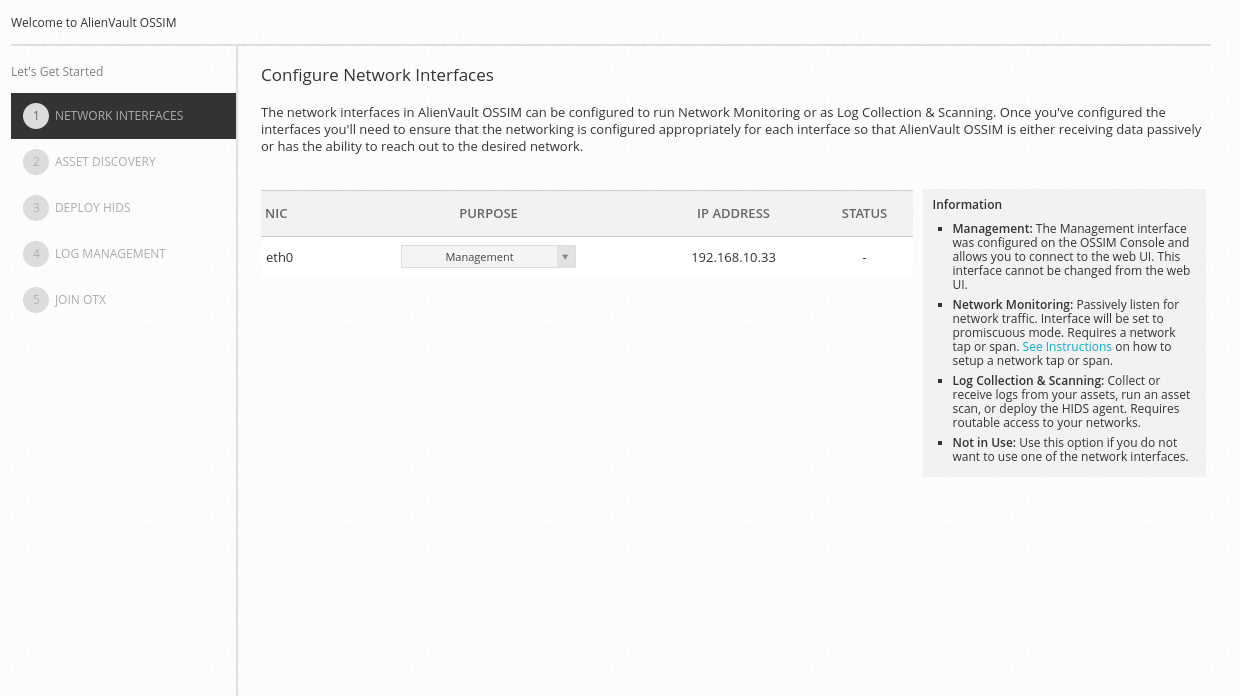
We are going to click on the Wizard for the post. The first part tells us to tell it what function the cards we have in the machine are going to have according to the four possibilities it gives us. In our case we will select Management but we will also use it in the next step to scan assets.
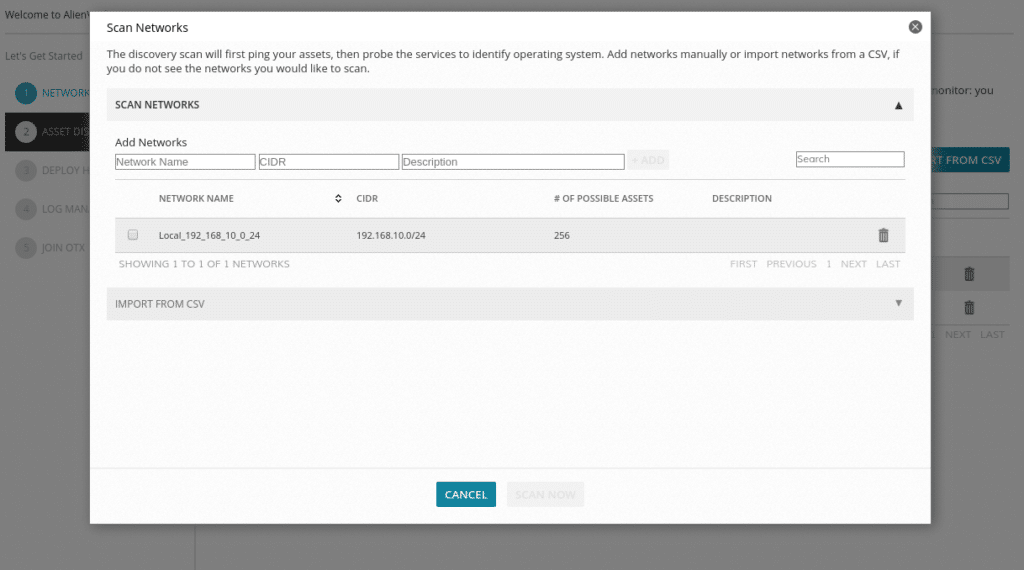
In the next screen it will tell us if we want to scan networks or upload a csv with the assets. In our case we have clicked on scan and defined which network we want to scan.
This part will take more or less time depending on the resources that we have assigned to the machine and how many assets there are in the network or networks that we want to scan and when it finishes it gives us the option to program the scanner.
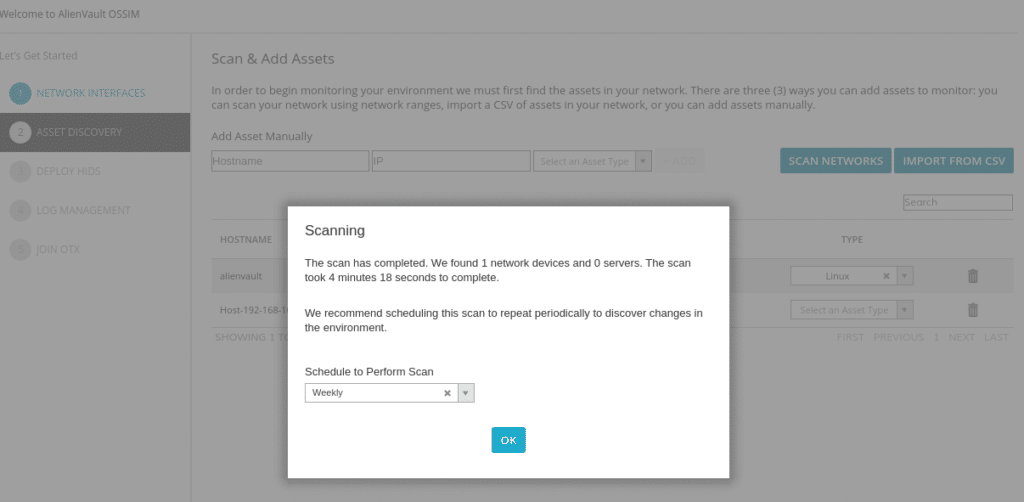
And then it shows the assets found in the network or networks.
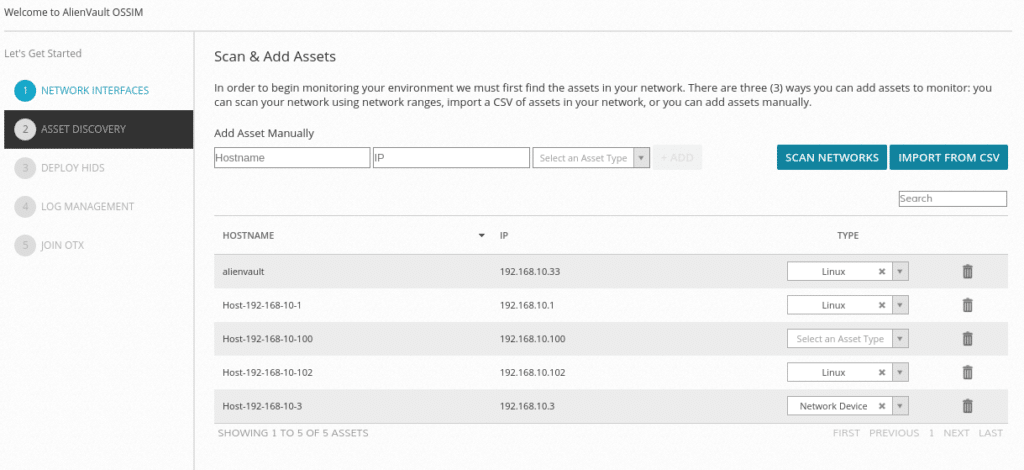
As we can see the 100 has not detected exactly what it is but we can select between Linux, Windows and Network device in the drop-down menu. We can also delete the ones we do not want.
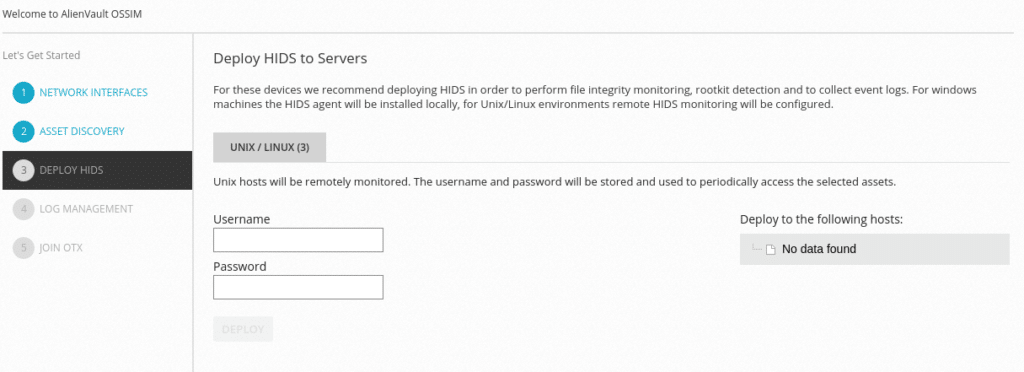
The next step would be to deploy the HIDS to perform file integration monitoring, rootkit detection and collect event logs. For Windows machines the HIDS agent is installed locally, for Linux it is a remote supervision. In this lab we will not put any, we will be able to do it later.
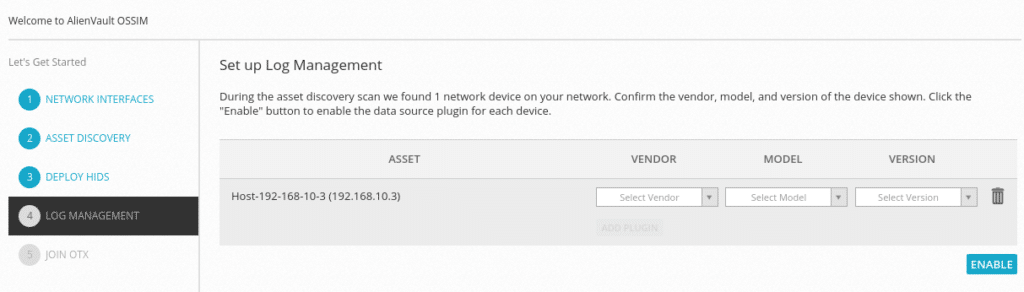
The next step would be to indicate brand, model and version of the network devices you have found in order to manage the logs by enabling these items, note that not all devices will appear, in which case you will not be able to enable.
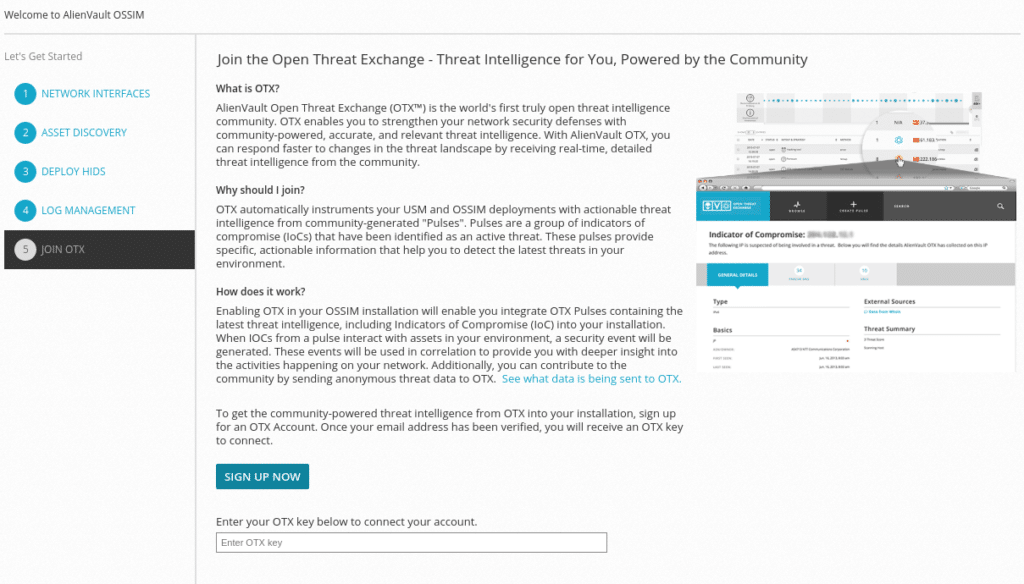
And finally use the great OTX by registering and entering your account token.
Once done, click Finish and you will be prompted if you want to configure more data sources or enter the OSSIM dashboard.
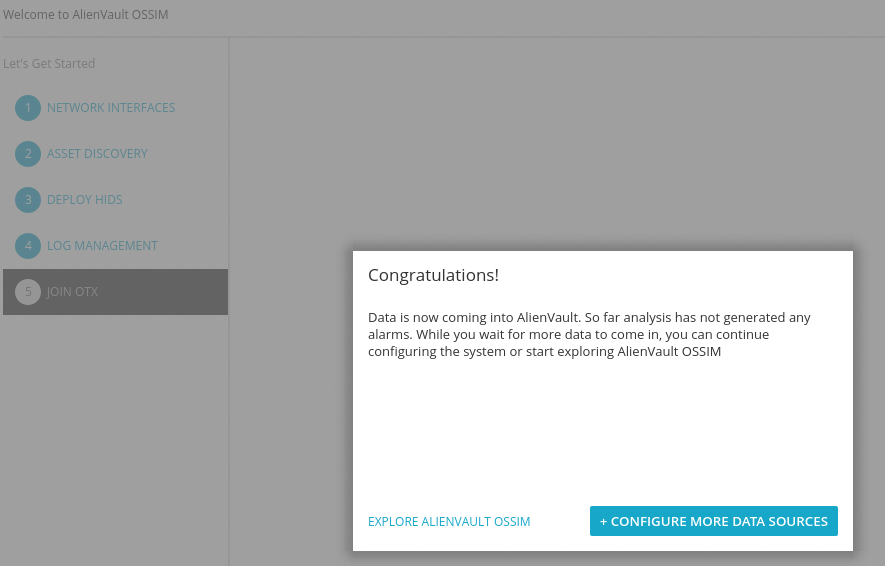
We enter the dashboard and we will already have information of the assets that we defined in the Wizard.

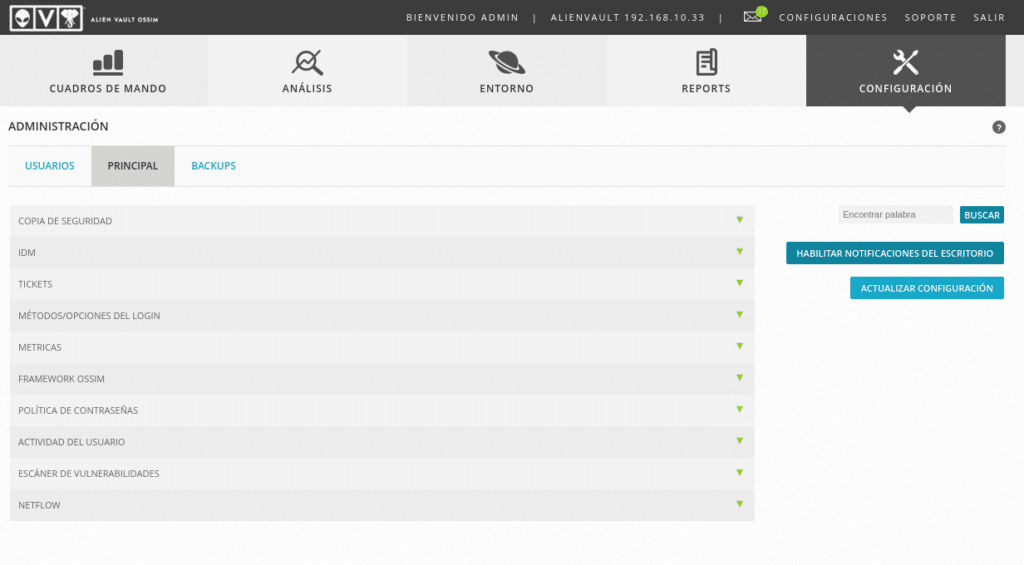
From here there is a lot to look at and configure, I advise you to start with the Configuration/Administration part to change the language of your user to Spanish in this case and continue by taking a look at the Main options, which will already be in Spanish.
Then for example we can go to Environment/vulnerabilities and schedule scan jobs, remember that among the tools used for these scans is OpenVas which we talked about in the post OpenVas-Scanning vulnerabilities.
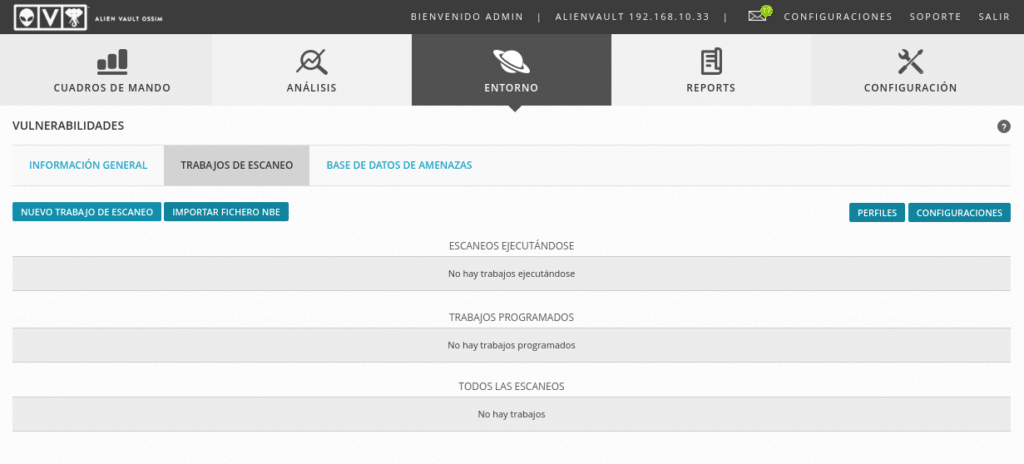
With a very simple menu similar to that of OpenVas since it will launch from below.
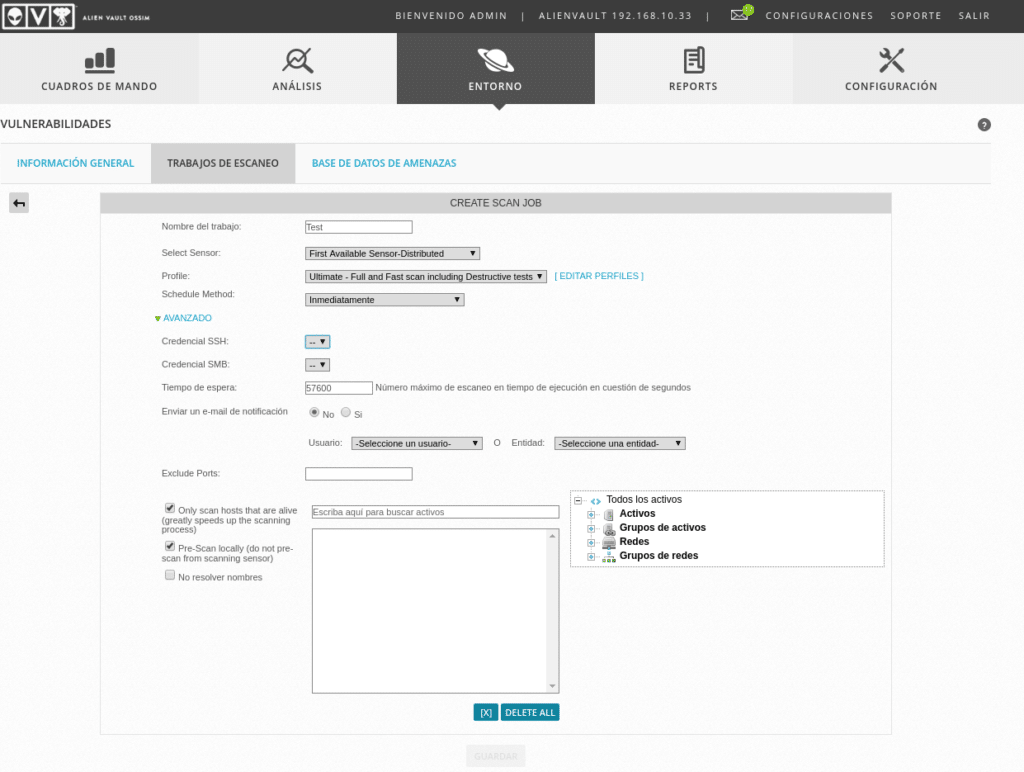
We will be able to program the scanners that we need, with notifications, with or without keys, etc…
Also take a look at the console of the machine itself.
As you can see a system like OSSIM open source is priceless for the rest Mastercard,Paypal, Stripe,…:)
TL.