What is Locust.io and why should you care?
Imagine you’ve just launched your website or app. Everything looks great, works like a charm… until 1,000 users log in at once and everything collapses like a house of cards. Enter Locust.io, an open-source load testing tool that simulates thousands (or millions!) of users at once to help you know if your system is really ready for the real world.
And the best part: it’s written in Python, making it flexible, simple, and even fun to use.
Step by Step: How to Install Locust on Your Machine
Let’s get down to business. Here’s how to install Locust without any hassle. I promise: no unnecessary technicalities.
Prerequisites
Before you begin, make sure you have:
- Python 3.7 or higher installed on your system.
- pip, the Python package manager (usually comes with Python).
- Access to a terminal or command prompt (you can use PowerShell on Windows, Terminal on macOS or Linux).
To know if we meet these requirements, we can easily run the following in our terminal:
python3 –version
You’ll see something like Python 3.11.2.
Now let’s create an environment for the project to keep our installation clean and free of conflicts with other projects. To do this, we need to install python3.11-venv in our case, based on the version.
sudo apt install python3.11-venv
Once installed we execute:
python3 -m venv locust
We activate the environment:
source locust/bin/activate
And we will know that we are inside it because in the console in front of our name will be the name of our environment

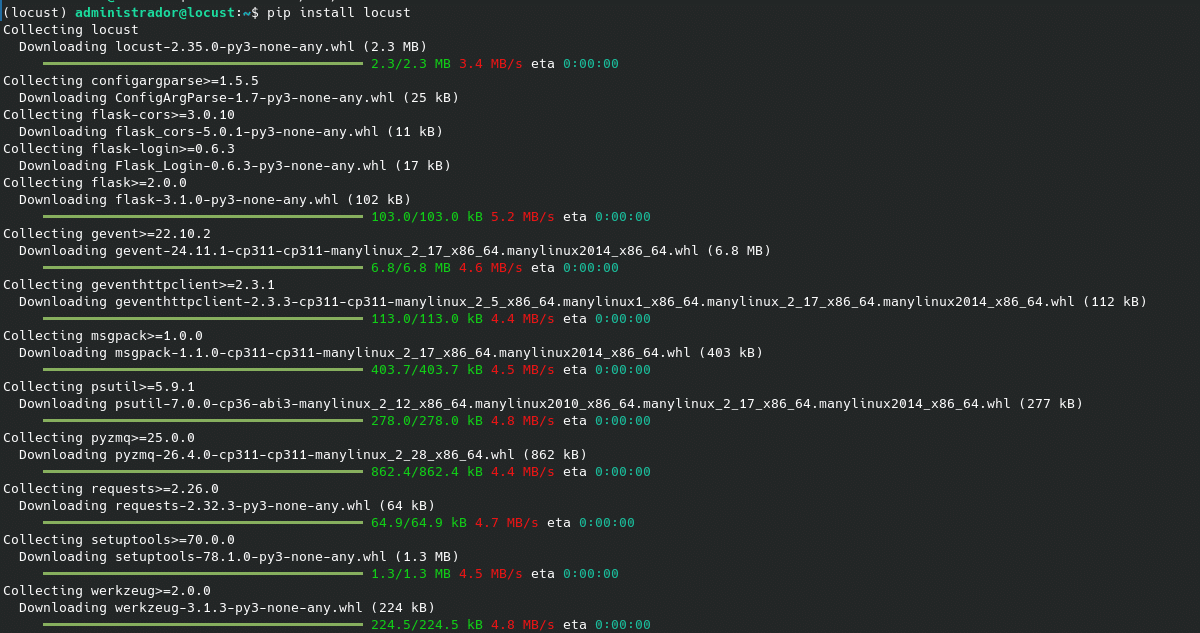
Once inside we install locust with pip:
pip install locust
So now what? Time to try it!
Once finished, we need to create a file called locustfile.py, which will be searched for when we run Locust, or with another name, such as locusttest.py. When running, we must specify the file to use with locust -f file.py.
For this tutorial, we’ll create a simple homepage load test by creating the locusttest.py file with the following code.
Now we start Locust in our console, in our case specifying the file we called locusttest.py:
locust -f locusttest.py
If everything went well, it will tell us to go to the browser and open the IP of the machine through port 8089

Accessing it we have the following fields, number of concurrent users, how many we will gradually increase per second to simulate how users actually connect instead of generating an artificial overload if we enter 10,000 at once and for how long we will launch it.
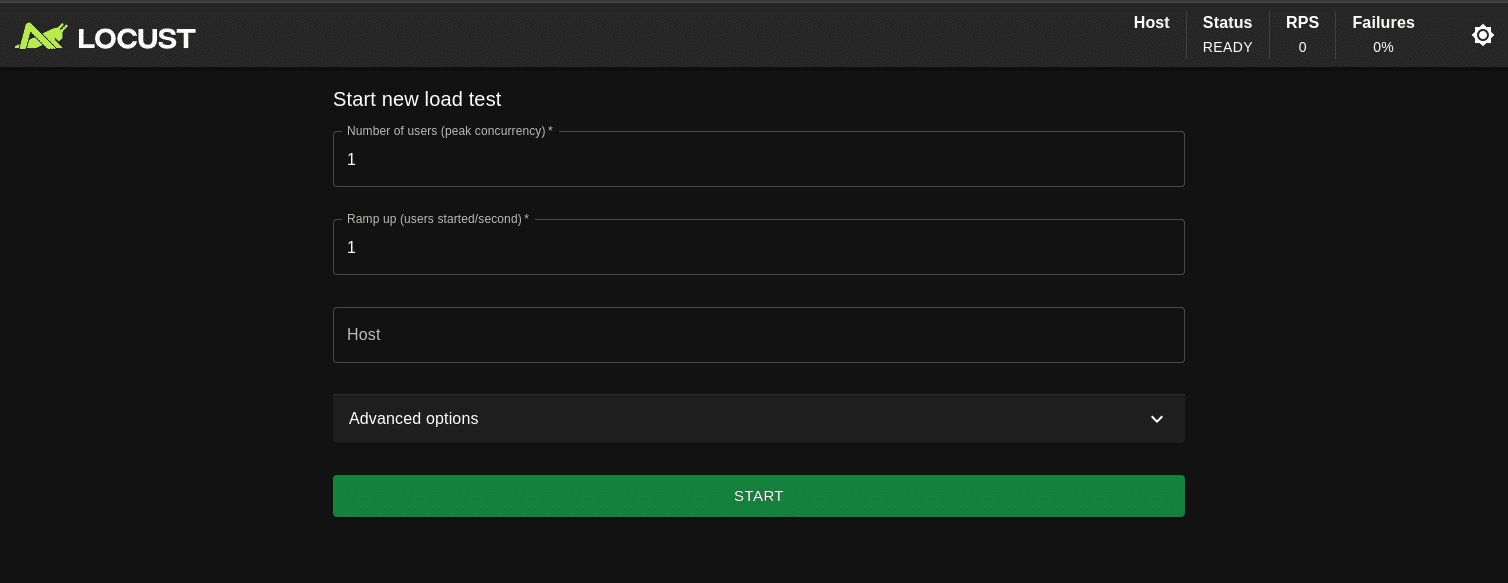
We fill it to our liking, for example, 1000 users increasing by 10 every second for 3m. And we will obtain the summarized results as follows
| Type | Type of request, normally, for example GET |
| Name | The name or endpoint being called, for example in this test the root or home / |
| # Requests | Total number of times that request was made. E.g.: 5,000 times it was requested / |
| # Fails | How many times that request failed (due to a timeout, 500 error, etc.). Ideally, we should get 0 |
| Median (ms) | Average response time right in the center of all data. Less sensitive to extreme values. |
| 95%ile (ms) | Ninety-five percent of responses were faster than this value. Only 5% were slower. |
| 99%ile (ms) | Same as the previous one, but even more demanding. Ninety-nine percent of responses were faster than this time. |
| Average (ms) | Average response time. |
| Min (ms) | The fastest request recorded (in milliseconds). |
| Max (ms) | The slowest request recorded. Helps you detect “spikes” or moments of congestion. |
| Average size (bytes) | Average response size |
| Current RPS | Current Requests Per Second. How many requests per second Locust is currently making. |
| Current Failures/s | Failures per second occurring now. If this value increases, watch out! Something isn’t handling the load. |
In charts we can see graphs such as total requests per second.

And we can even download the data in CSV format in the Download Data section.
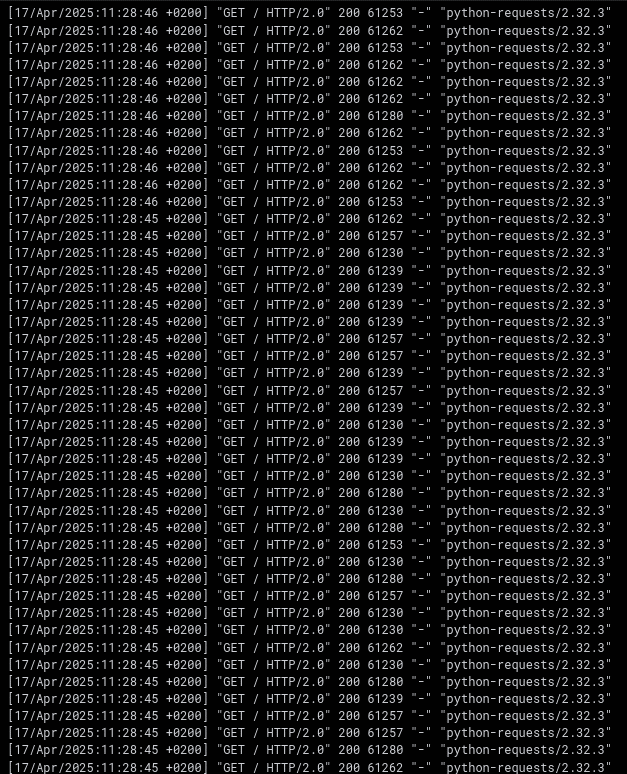
On the server we’re testing, if we have access to the logs, we can identify the test requests as follows:
You can perform many simulated tasks, such as logging in, browsing, etc., but we’ll leave that for another post.
TL.
Thanks for reading our posts, and I hope you enjoy Locust.