INSTALL DOCKER SWARM, PORTAINER Y PHOTON
On this occasion we are going to talk about how to make a docker cluster using Photon as an operating system, very light and has a special kernel for vmware, easily managed with Portainer CE, which has a totally free business version for up to 5 nodes.
The first thing is to see what requirements we need for a docker cluster:
Nodes: minimum 3 nodes where it can tolerate the fall of 1
Minimum hardware: 4 core / 8 GB RAM / 200 GB hd for 3 nodes
Recommended hardware: 8 core / 16 GB RAM / 200 GB hd for 3 nodes
Optional hardware: 8 core+ / 16 GB RAM+ / 200 GB+ hd for 6 nodes
As it is a laboratory we will set up 3 smaller machines in VirtualBox with Photon, I recommend you download the ISO and do the installation, since the OVA can give you some problems such as not finding the fd0 disk drive. You can find the downloads at https://github.com/vmware/photon/wiki/Downloading-Photon-OS
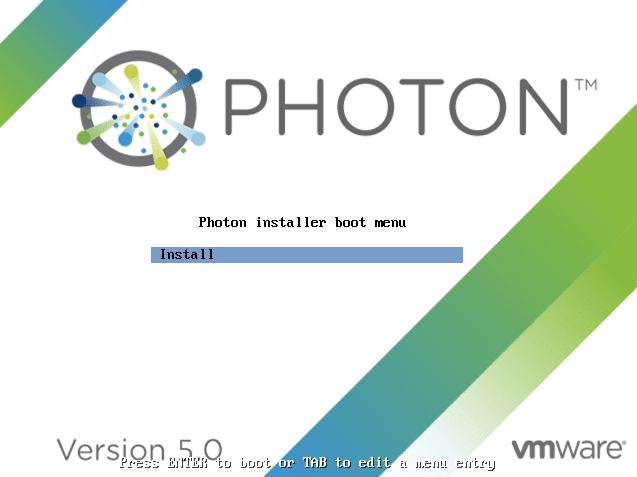
PHOTON OS INSTALLATION
It is very simple and fast as you will see below.
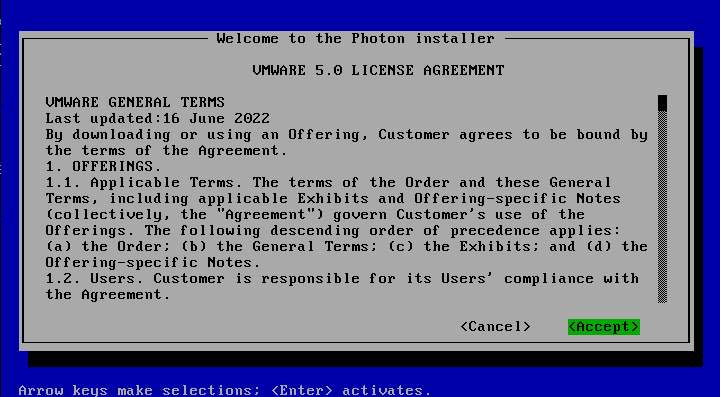
Accept vmware terms
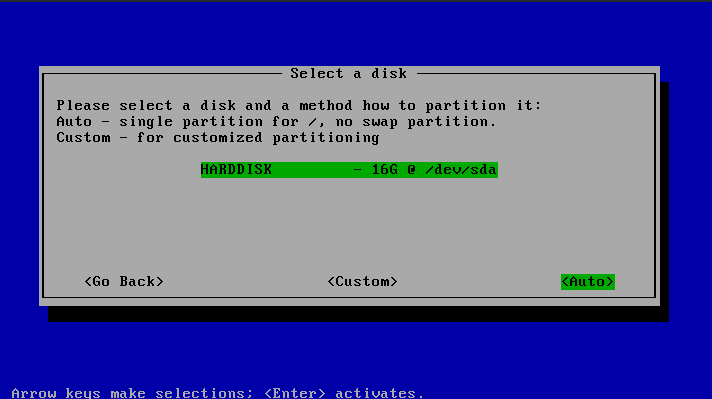
Choose disk
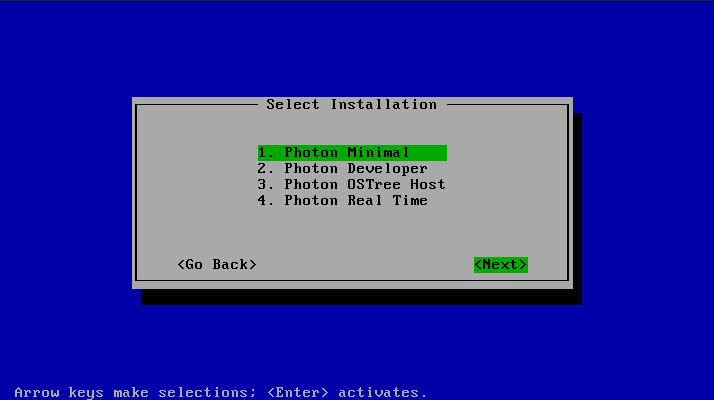
Which version, for production environment the minimum.
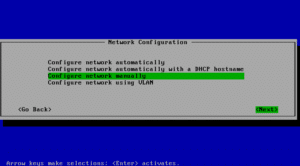
How do we want to configure the network, each one according to their environment but as a general rule manually to set a fixed IP
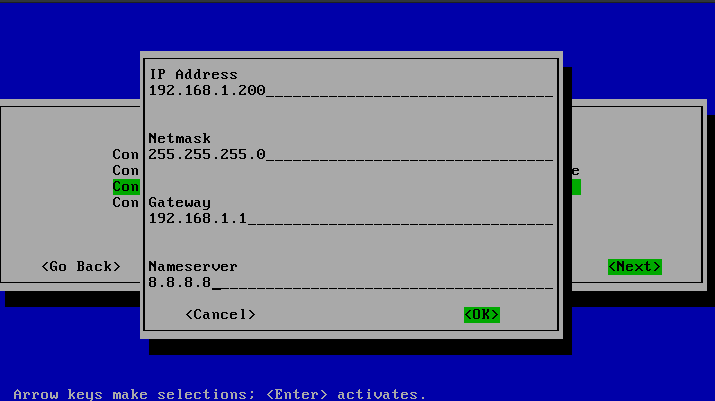
We put the network data
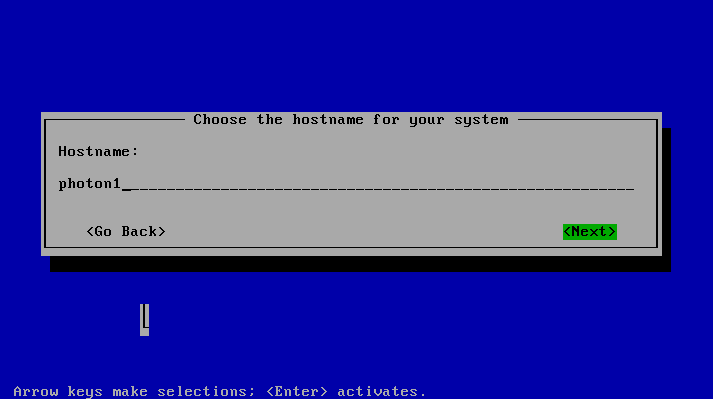
Now the name of the machine
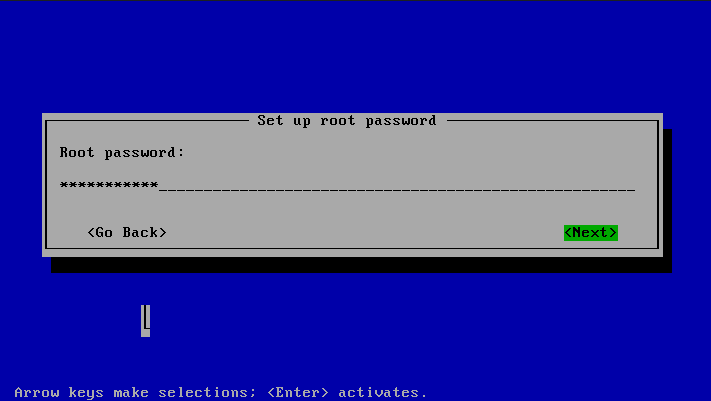
Root password and confirmation
And finally confirm
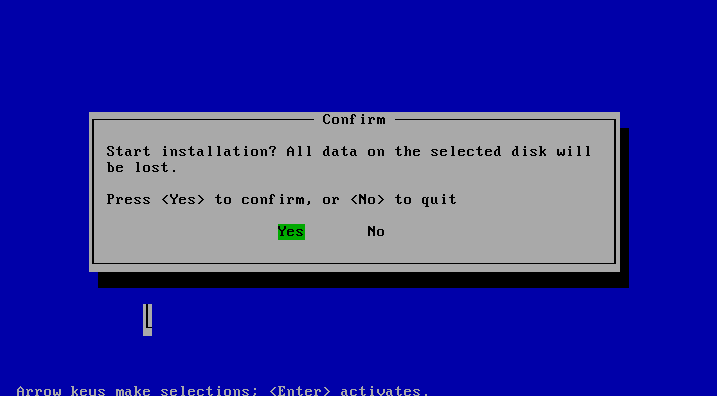
And that’s it, we’d have our first node, and we’d deploy 2 more. Note that if the installation were in a vmware environment there would be one more step where it asks you if you want the generic kernel or the kernel optimized for vmware.
Photon comes with docker installed but disabled, simply run:
systemctl enable docker
systemctl start docker

The following would be up to the consumer, photon comes with iptables and an English keyboard by default, so as not to go on too long we will disable iptables and set the keyboard to Spanish.
On each machine run:
systemctl stop iptables
systemctl disable iptables

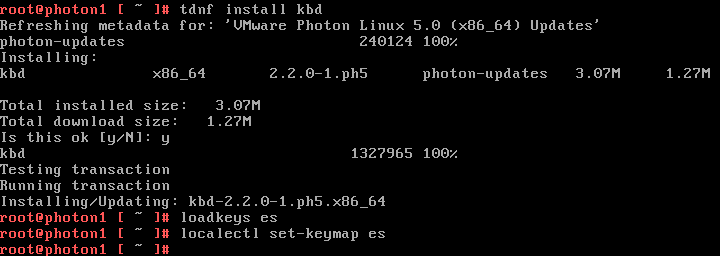
In this distribution the package manager is tdnf, we execute the following for the keyboard:
tdnf install kbd
loadkeys es
localectl set-keymap es
On the other hand, the ssh service does not allow remote root login, for convenience when creating the cluster we will enable it by adding PermitRootLogin in the configuration file /etc/ssh/sshd_config
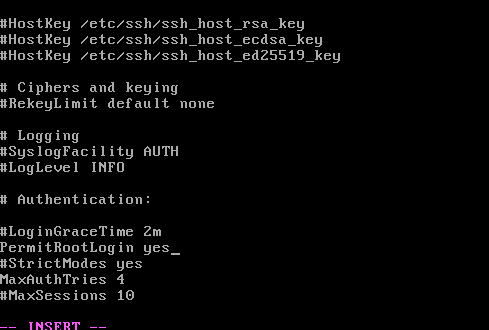
And we restart service
systemctl restart sshd
Once we have done this on the three machines we will create the cluster
DOCKER SWARM
On the first node we run the following
docker swarm init –advertise-addr 192.168.1.200
Here I will make a clarification for those who use vmware with NSX, the default port for NSX VXLAN communication is UDP 4789 which is the one used by docker swarm for overlay network traffic, therefore we would enter into conflict and we would have a problem, therefore in vmware we would execute this command to change the port for example to 9789
docker swarm init –data-path-port=9789 –advertise-addr 192.168.1.200
This conflict is hard to see but when you install the portainer agent it will give you the error context deadline exceeded (Client.Timeout exceeded while awaiting headers)
Returning what we should execute on each node to add it as a worker,

but we are not going to execute it in this case, we are going to add the machines as manager and they will be workers too, so we have a multi-manager and multi-node cluster, since we need 3 for the quorum. We execute
docker swarm join-token manager
And it returns us what we have to execute on the other two machines to be manager
docker swarm join –token SWMTKN-1-0lzh7zsccaajsgeccy64osgbtkzi3b1bt2cm9ofd7kww0f375q-d24p6xhclfrp8gpxg8m4hkzy2 1
92.168.1.200:2377

We run it on the other two and if everything is correct the following will appear:

To see our cluster:
docker node ls

Perfect, we already have our cluster where we could start working, but we will make it easy with Portainer CE.
Portainer CE
We can install portainer in the cluster itself, but it is better to have it external, so that in case of a crash we can see what is happening. To do this, we install another docker but in standalone mode and execute the following, that is, we can create another machine just like we have done but without adding it to the cluster, working independently.
First we create a volume so that our data persists:
docker volume create portainer_data
And we deploy:

It asks us to enter the user and password or recover from a backup.


We select docker swarm and click on start wizard.
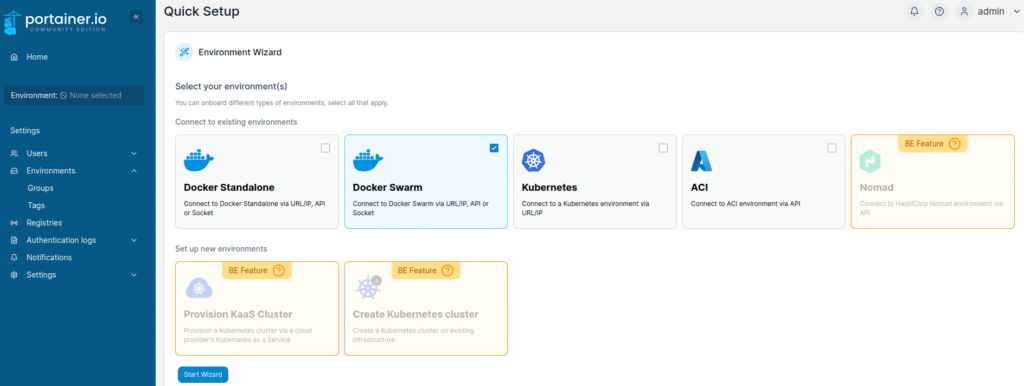
In the next screen we choose agent and fill in Name and Environment address with 192.168.1.200:9001, the rest of the options are to assign group, label and then user permissions to the different environments.
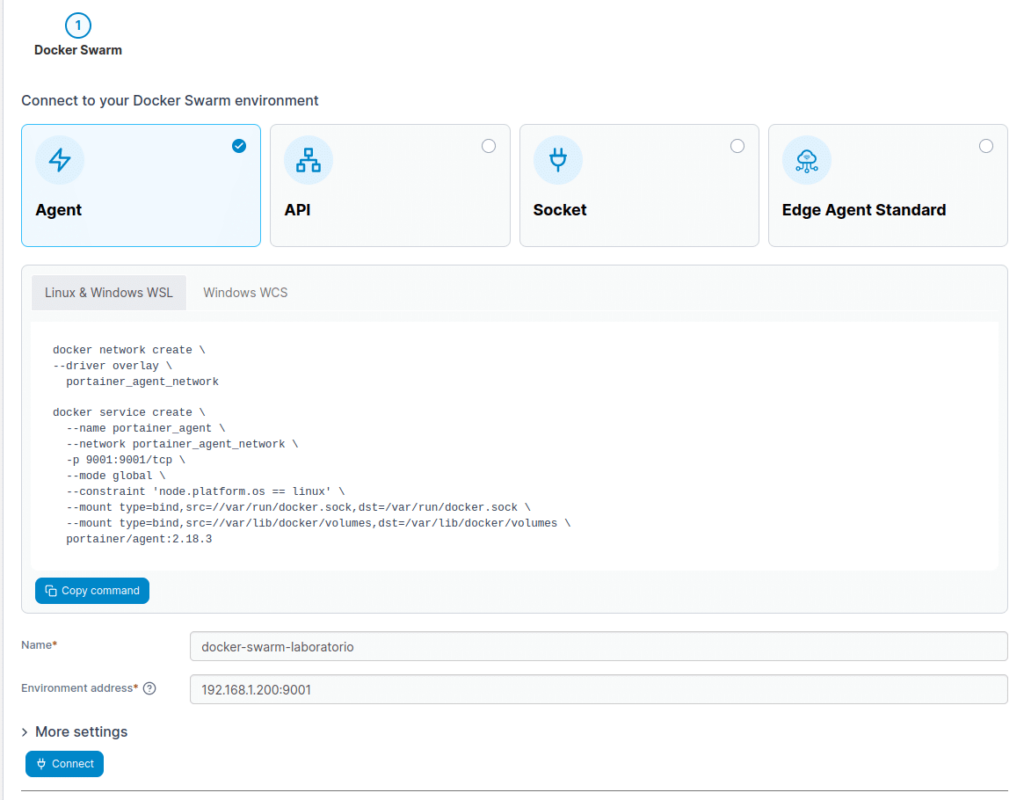
And now it’s as simple as copying and pasting the command that it tells us in our main node, waiting for it to install the agent docker and then clicking Connect.
docker network create \ –driver overlay \ portainer_agent_network docker service create \ –name portainer_agent \ –network portainer_agent_network \ -p 9001:9001/tcp \ –mode global \ –constraint ‘node.platform.os == linux’ \ –mount type=bind,src=//var/run/docker.sock,dst=/var/run/docker.sock \ –mount type=bind,src=//var/lib/docker/volumes,dst=/var/lib/docker/volumes \ portainer/agent:2.18.3
With this we can now manage our Docker cluster from Portainer, making our life easier. I love Portainer, congratulations Team for this great piece of software that you offer us.

From here I’ll leave it up to you to discover all the options, I can assure you that you’re going to love it.
Have a nice weekend!!!
TL.
FAQS
Photon OS is a lightweight operating system developed by VMware, optimized for virtualized and containerized environments. Its minimalist design and specialized kernel make it ideal for running Docker efficiently.
Docker Swarm is a Docker-native orchestration tool that allows you to manage multiple containers in a server cluster. With Swarm, you can easily deploy, scale, and manage applications across multiple nodes, without the need for external tools like Kubernetes.
Portainer is a web-based user interface that simplifies the management of Docker environments. With Portainer, you can intuitively monitor and manage your Docker Swarm cluster, deploy applications, monitor resources, and manage services from a centralized platform.
While it is possible, it is recommended to install Portainer on a separate instance outside of the cluster. This ensures that in case the cluster experiences issues, you can still access Portainer to diagnose and resolve any issues.

